This post is part of a series on my bike build:
- How it started
- Frameset and forks
- Assembling the stem, headset and forks
- More assembly (this post)
- Mission accomplished
Much to the amusement of my colleagues, boxes of varying sizes have been turning up at work over the last few weeks and I’ve been lugging them home – begging the question, “why didn’t you just order a whole one?”. It’s a great question, and I probably should have done, but hey, this is fun 🤓 .
Choosing a groupset
Choosing a groupset begets a whole bunch of other decisions, including bottom bracket and wheel compatibility. I definitely wanted a 1x11 setup, which is increasingly popular in the MTB world and my choices were Sram NX or Shimano SLX. After totting up the permutations of buying a bundle deal vs. buying it all separately, it turned out that separate was the way to go.
The price difference between SRAM and Shimano was almost negligible, and I found myself hinging the decision upon the fact that the SRAM GXP bottom bracket (BB) had terrible reviews. The Shimano BB, although cheaper had significantly better reviews, and since the BB is at the centre the groupset, I felt going for the better option here would stand me in better stead in the long run.
Bottom bracket and cranks
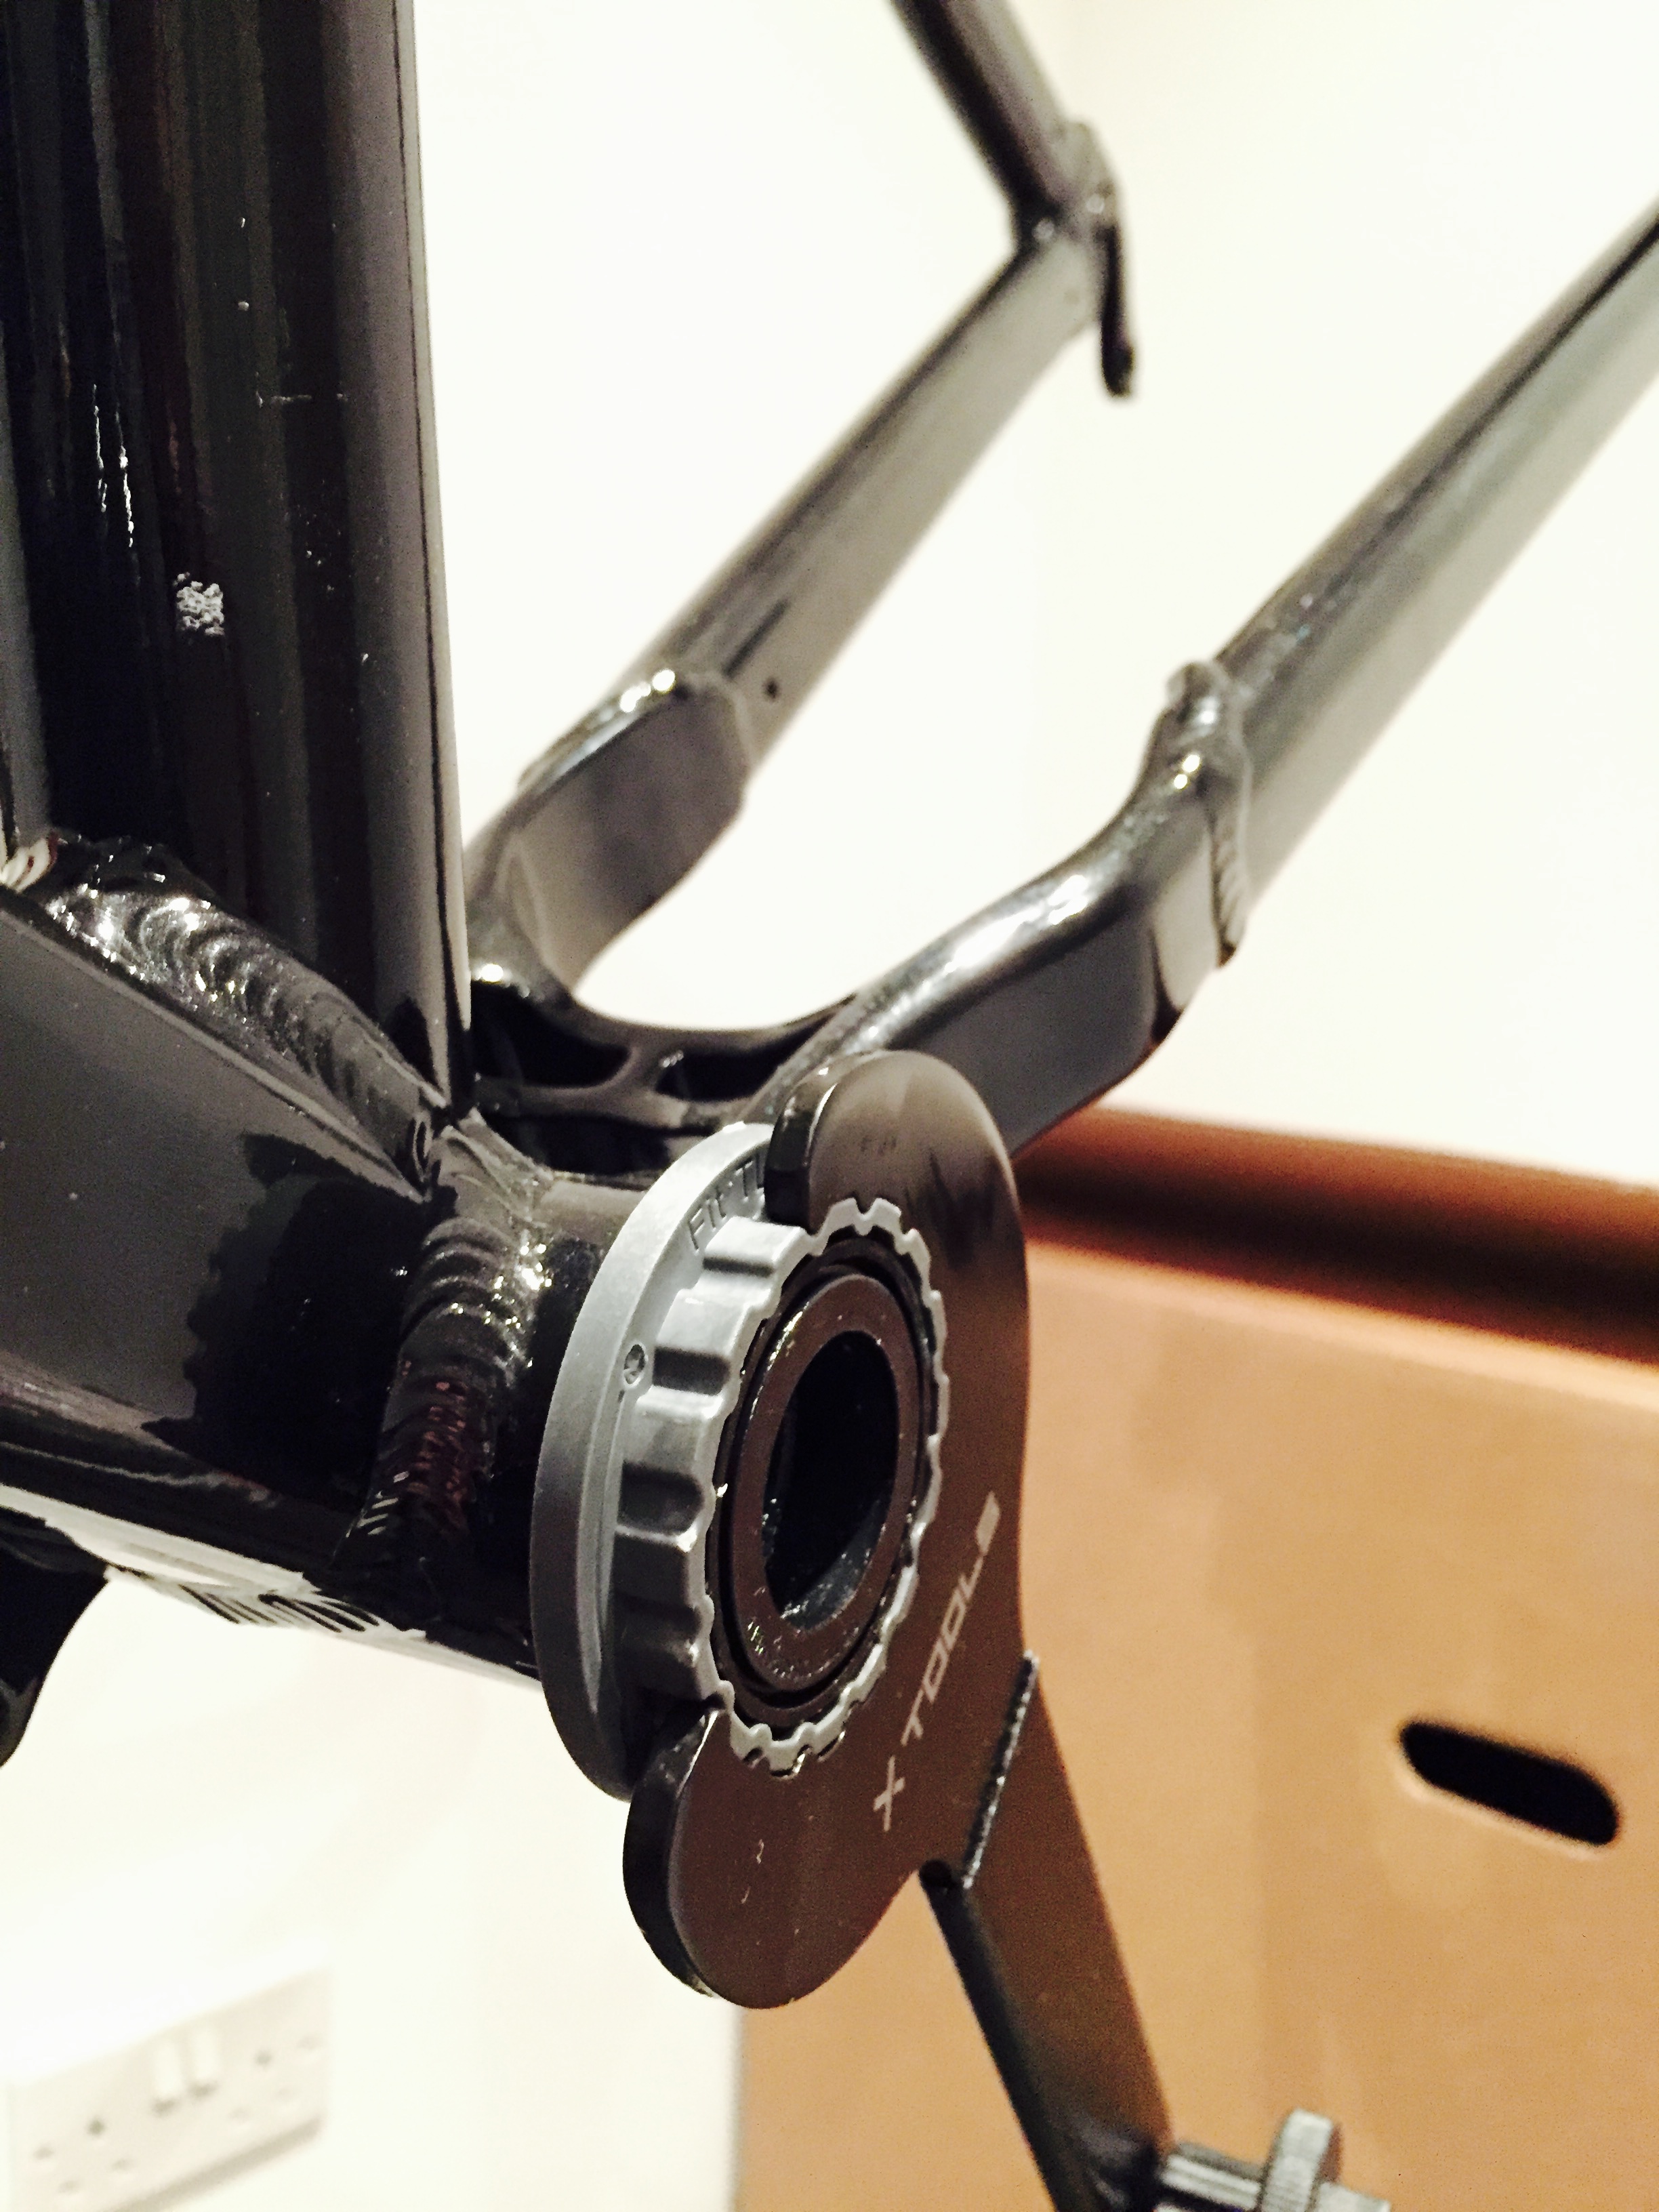
I had to buy a special tool (pictured) in order to fit the BB and the BB came with plastic adapter shim. Annoyingly this means it’s not compatible with the socket-style BB tool, which in turn means it’d be compatible with a torque wrench. As it goes, I had to torque it by feel (with the rather short tool). Whether I got it anywhere near correct is anyone’s guess!
Routing the shifter cable
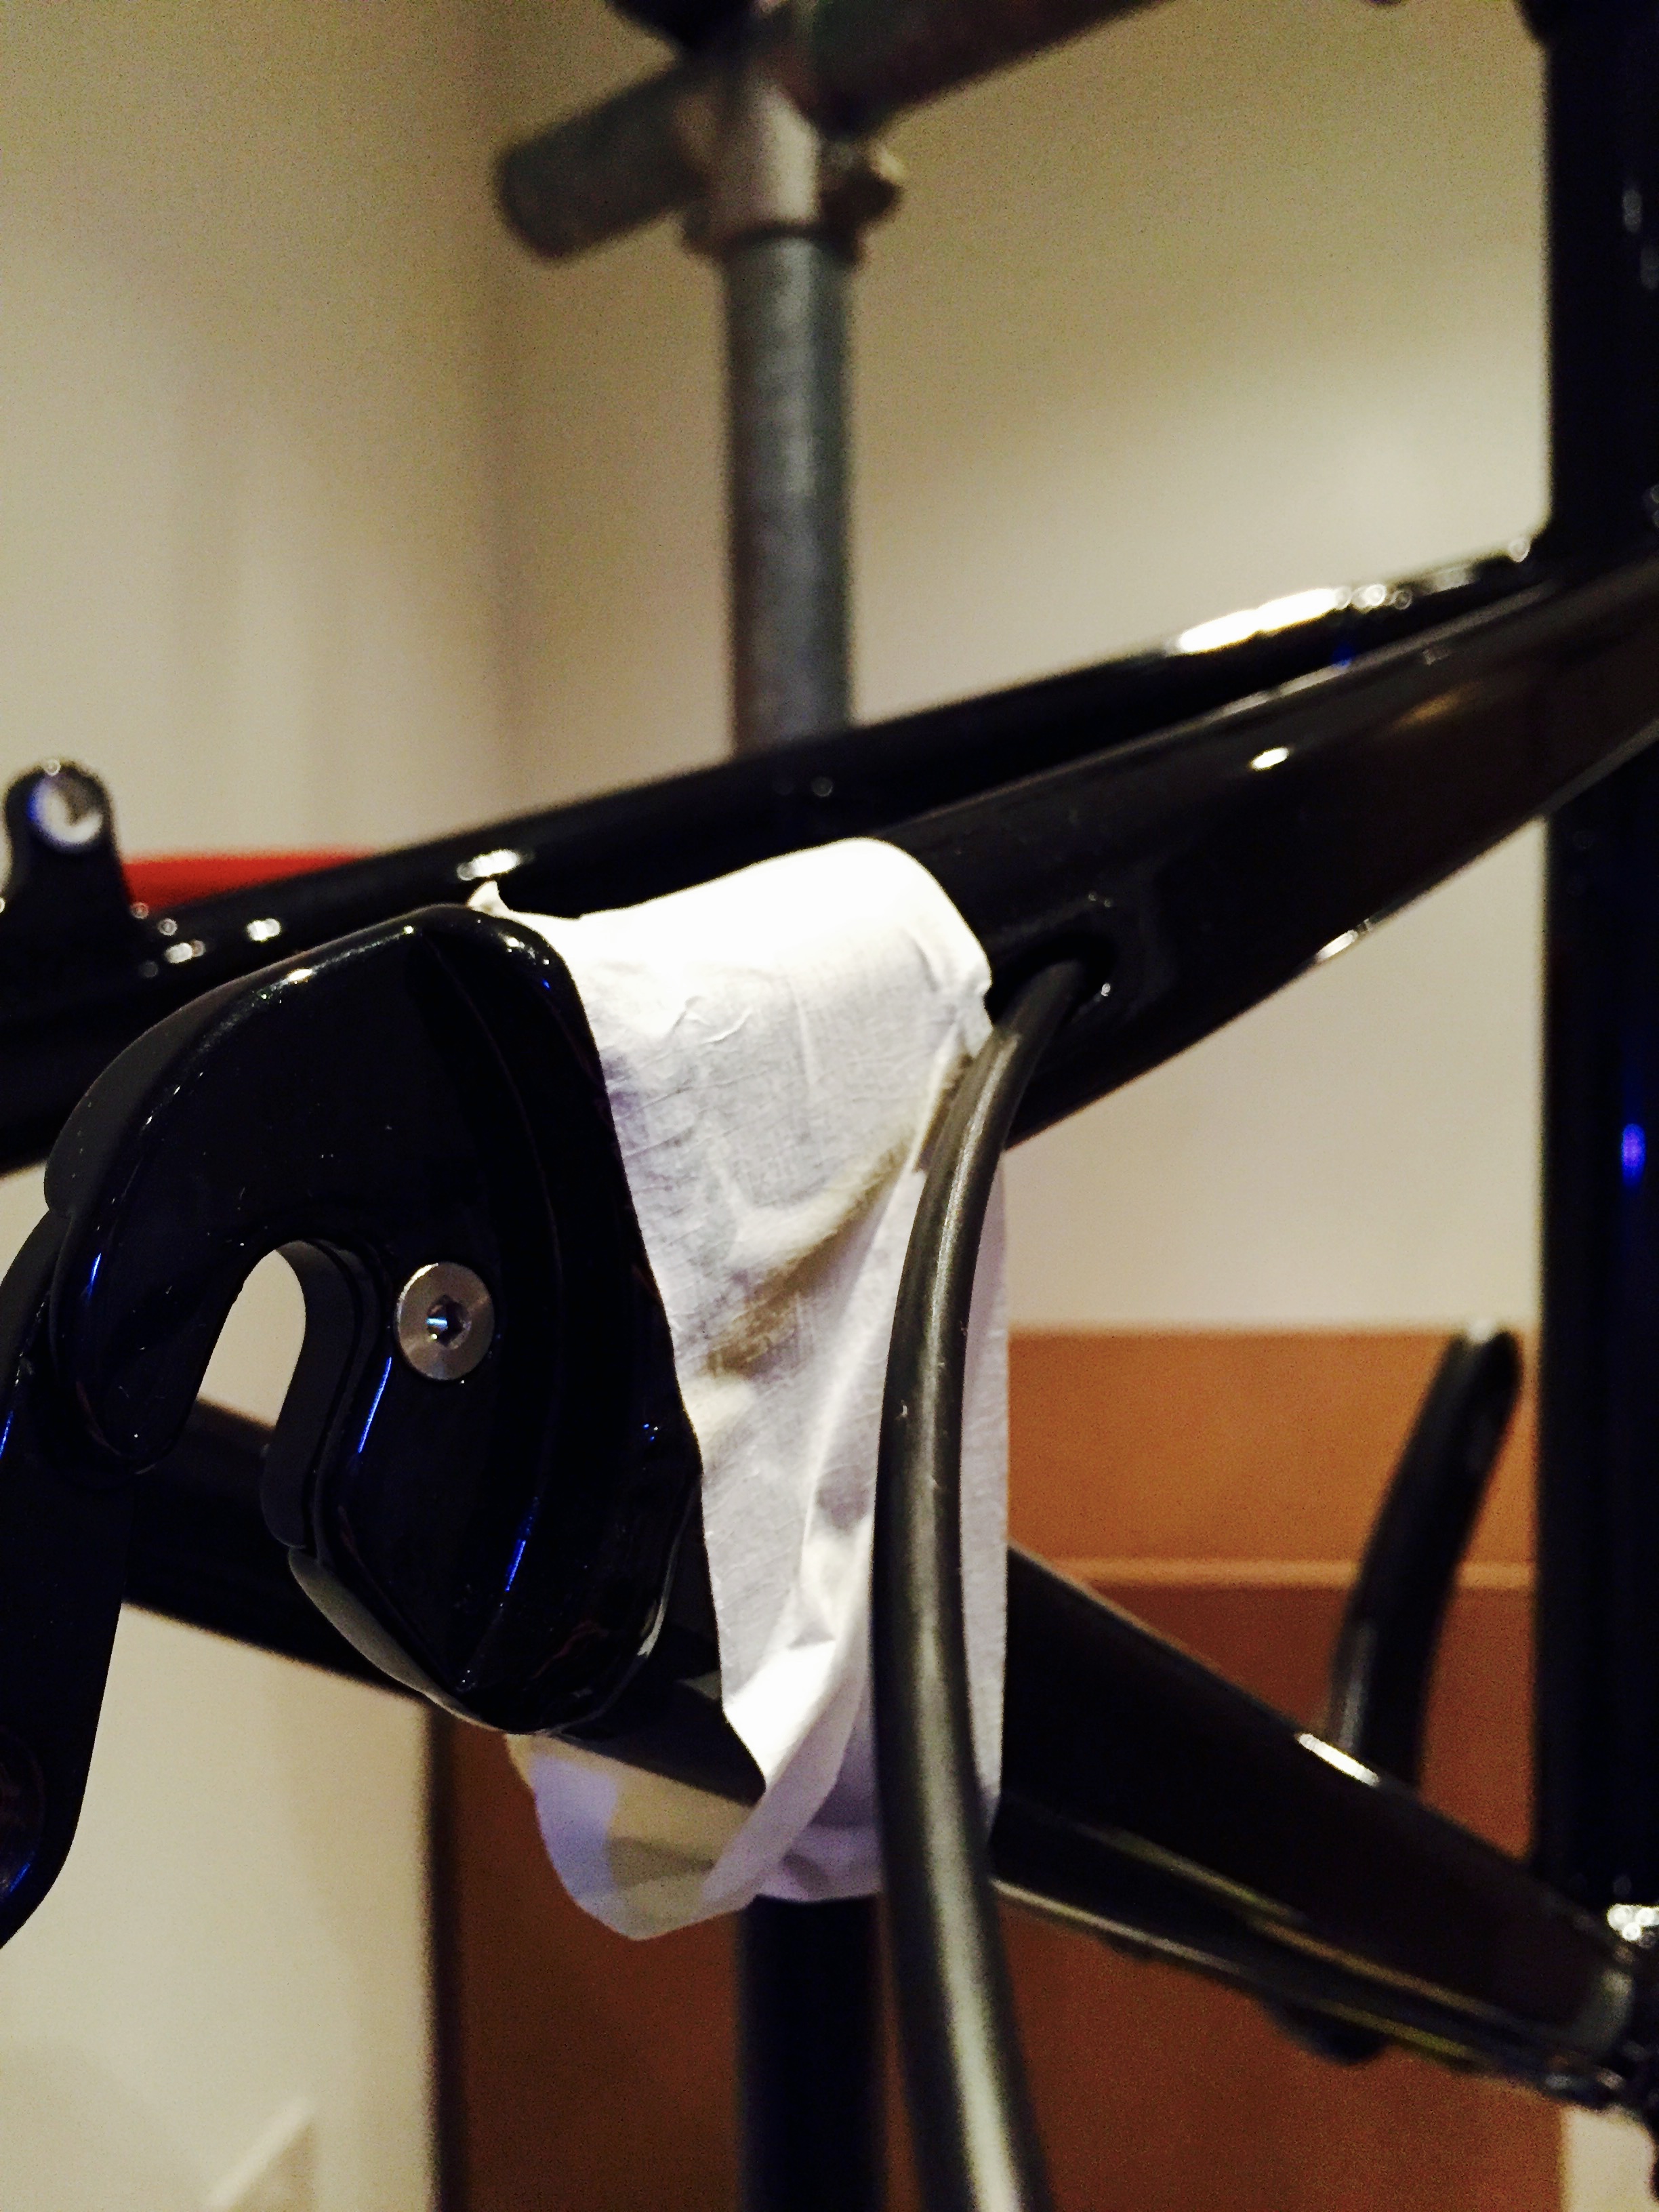
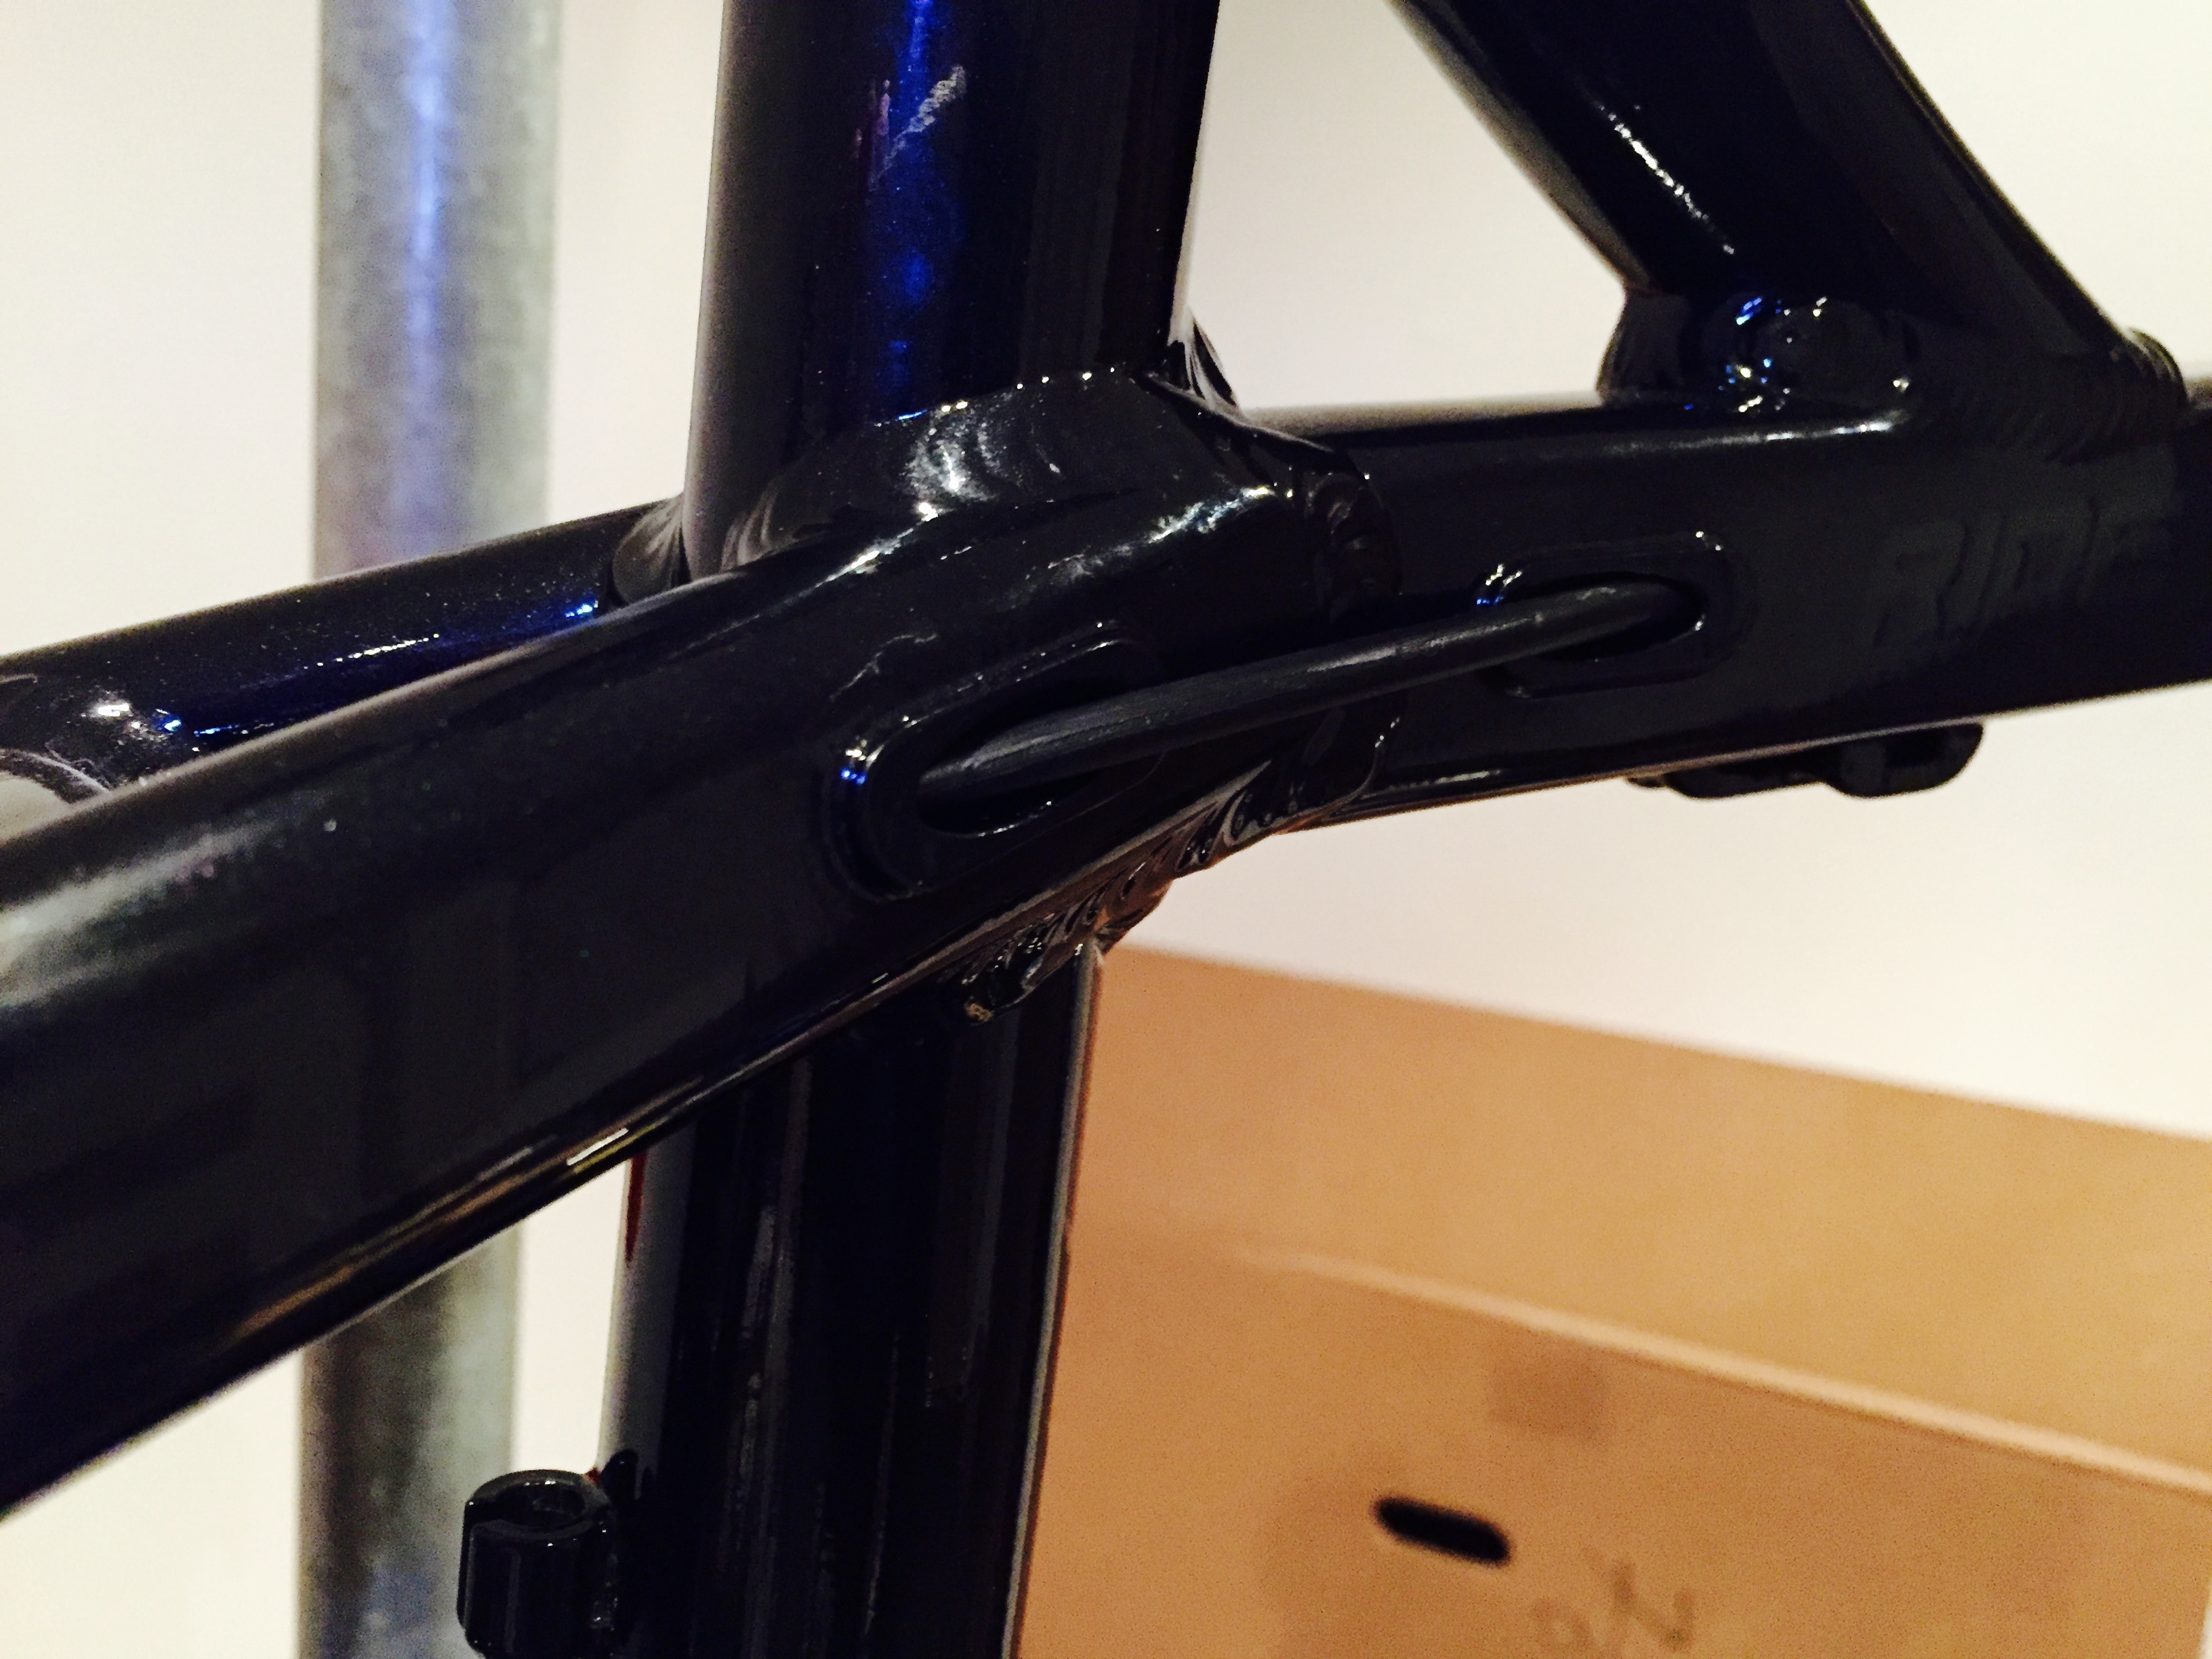
The frame has some rather neat internal cable routing. Pretty fiddly job to feed it through – involving a head torch, an awl and lots of cursing words of encouragement.
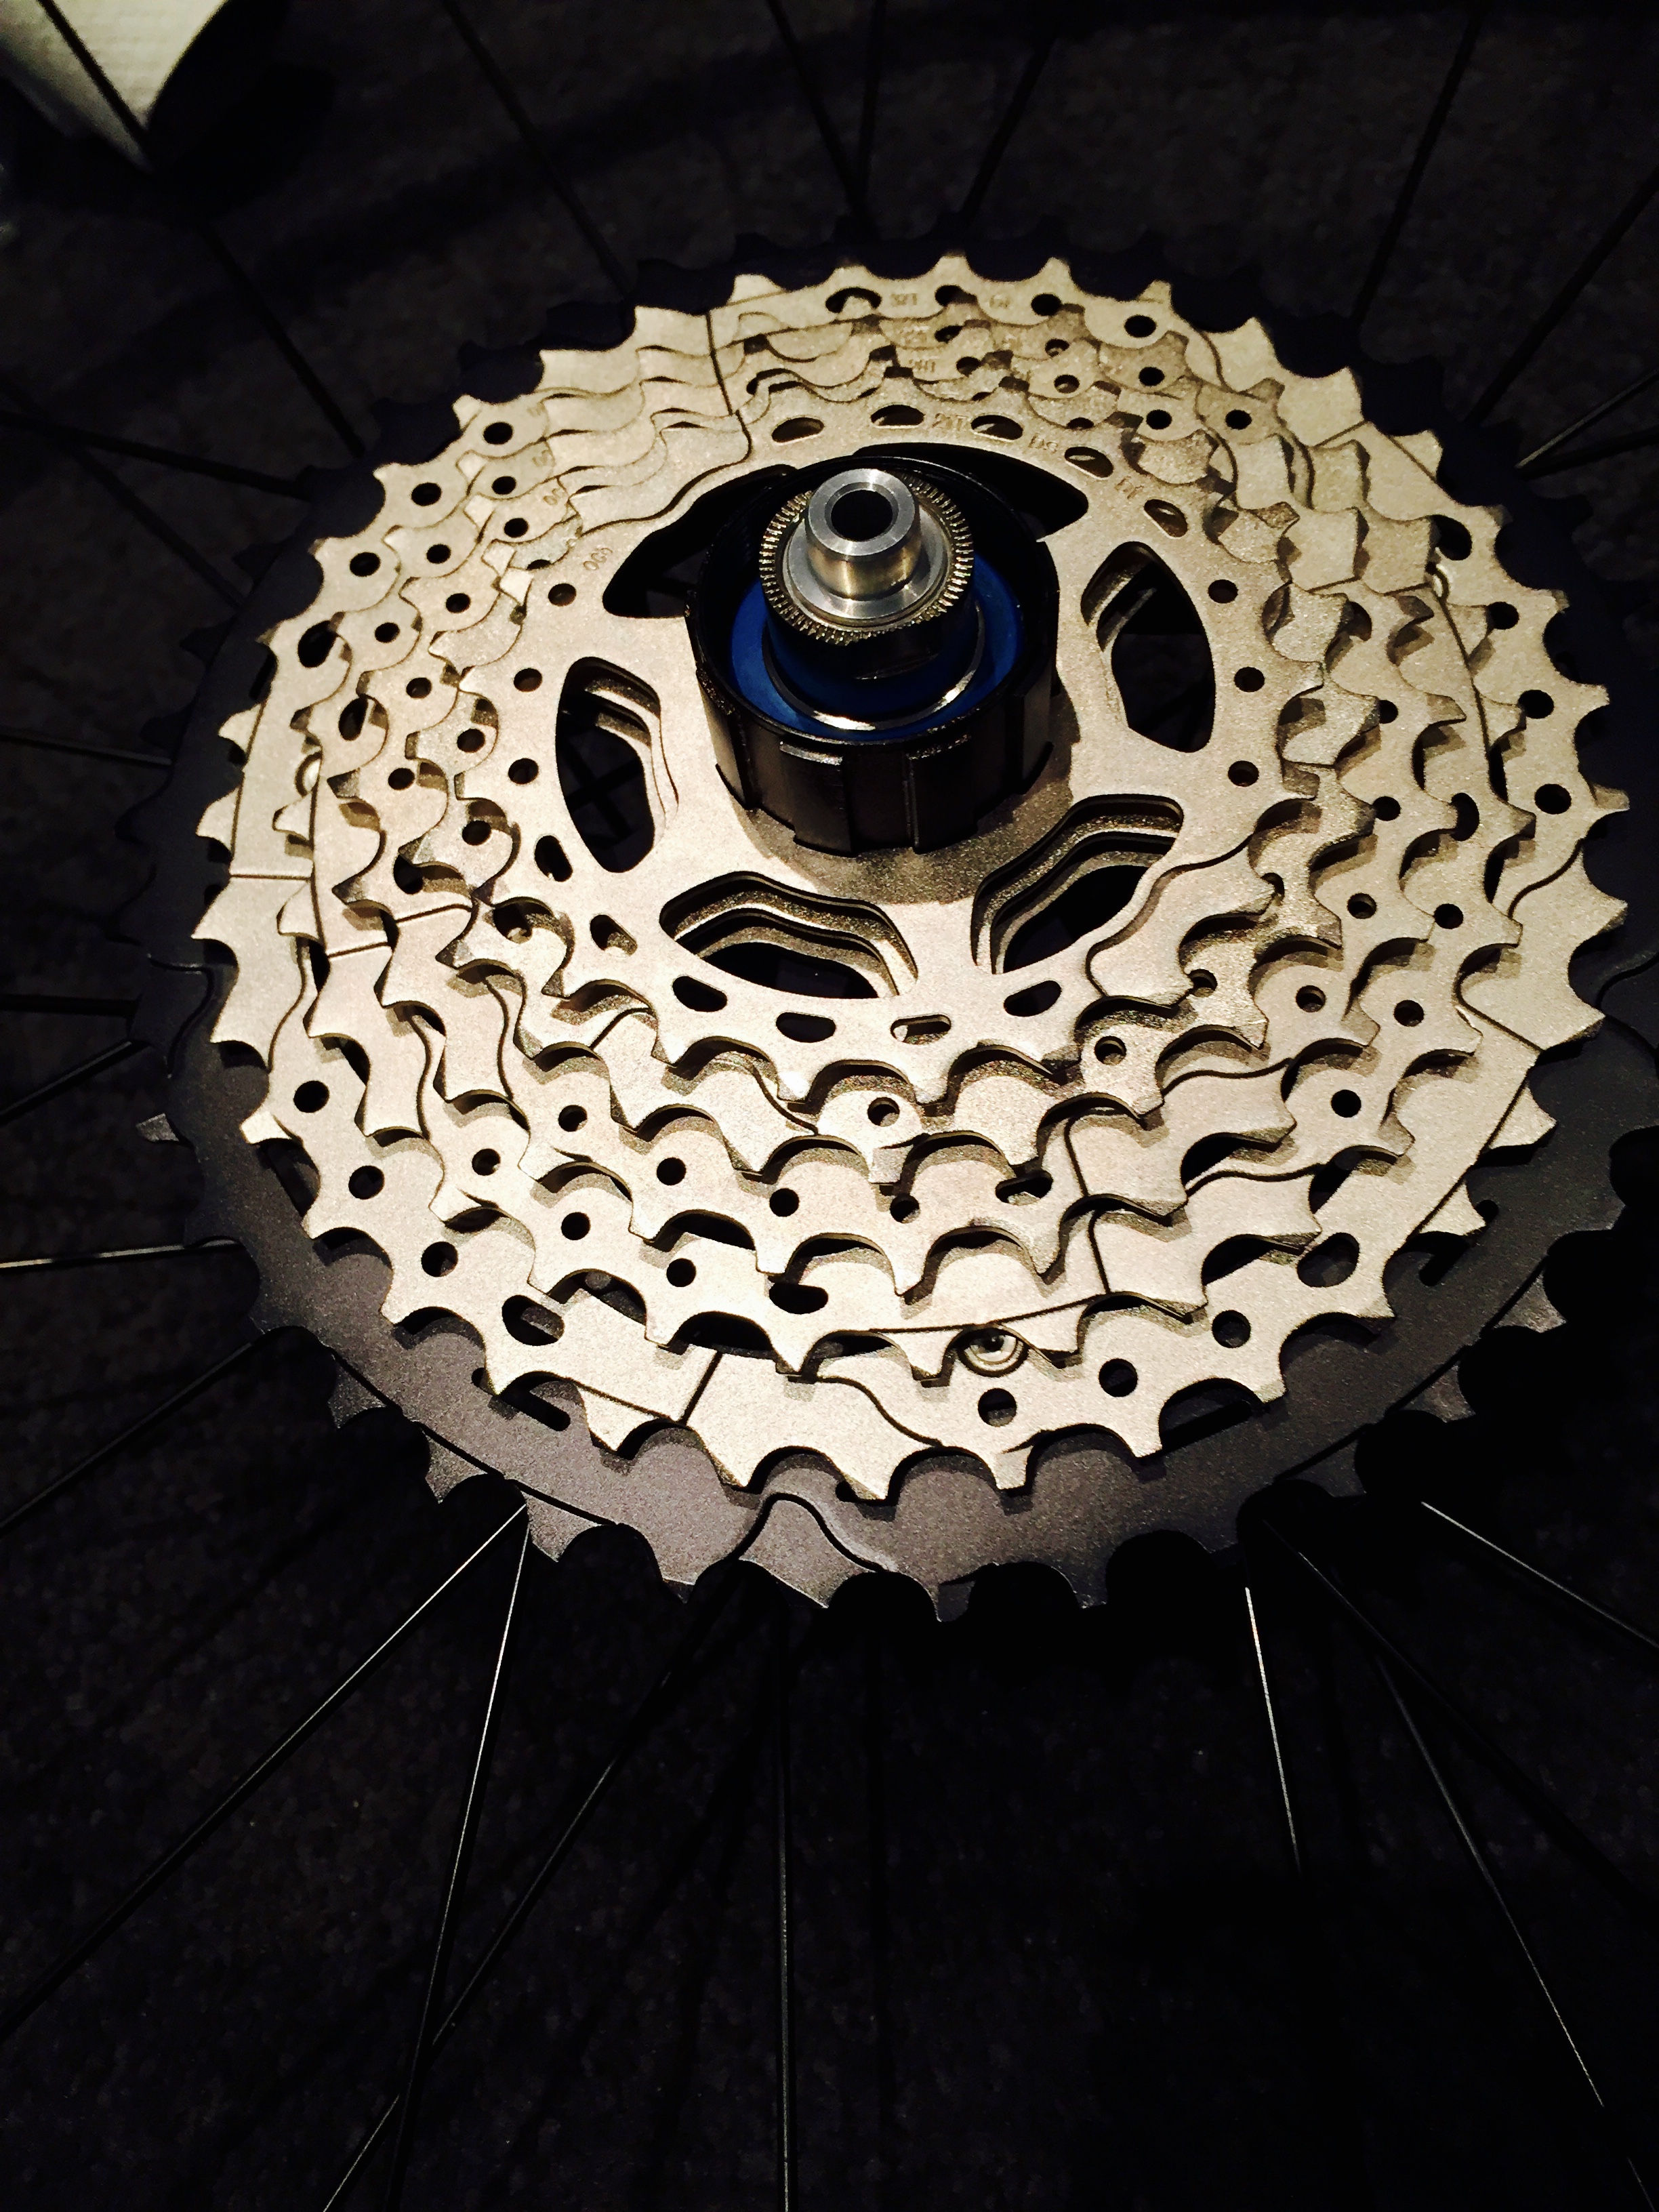
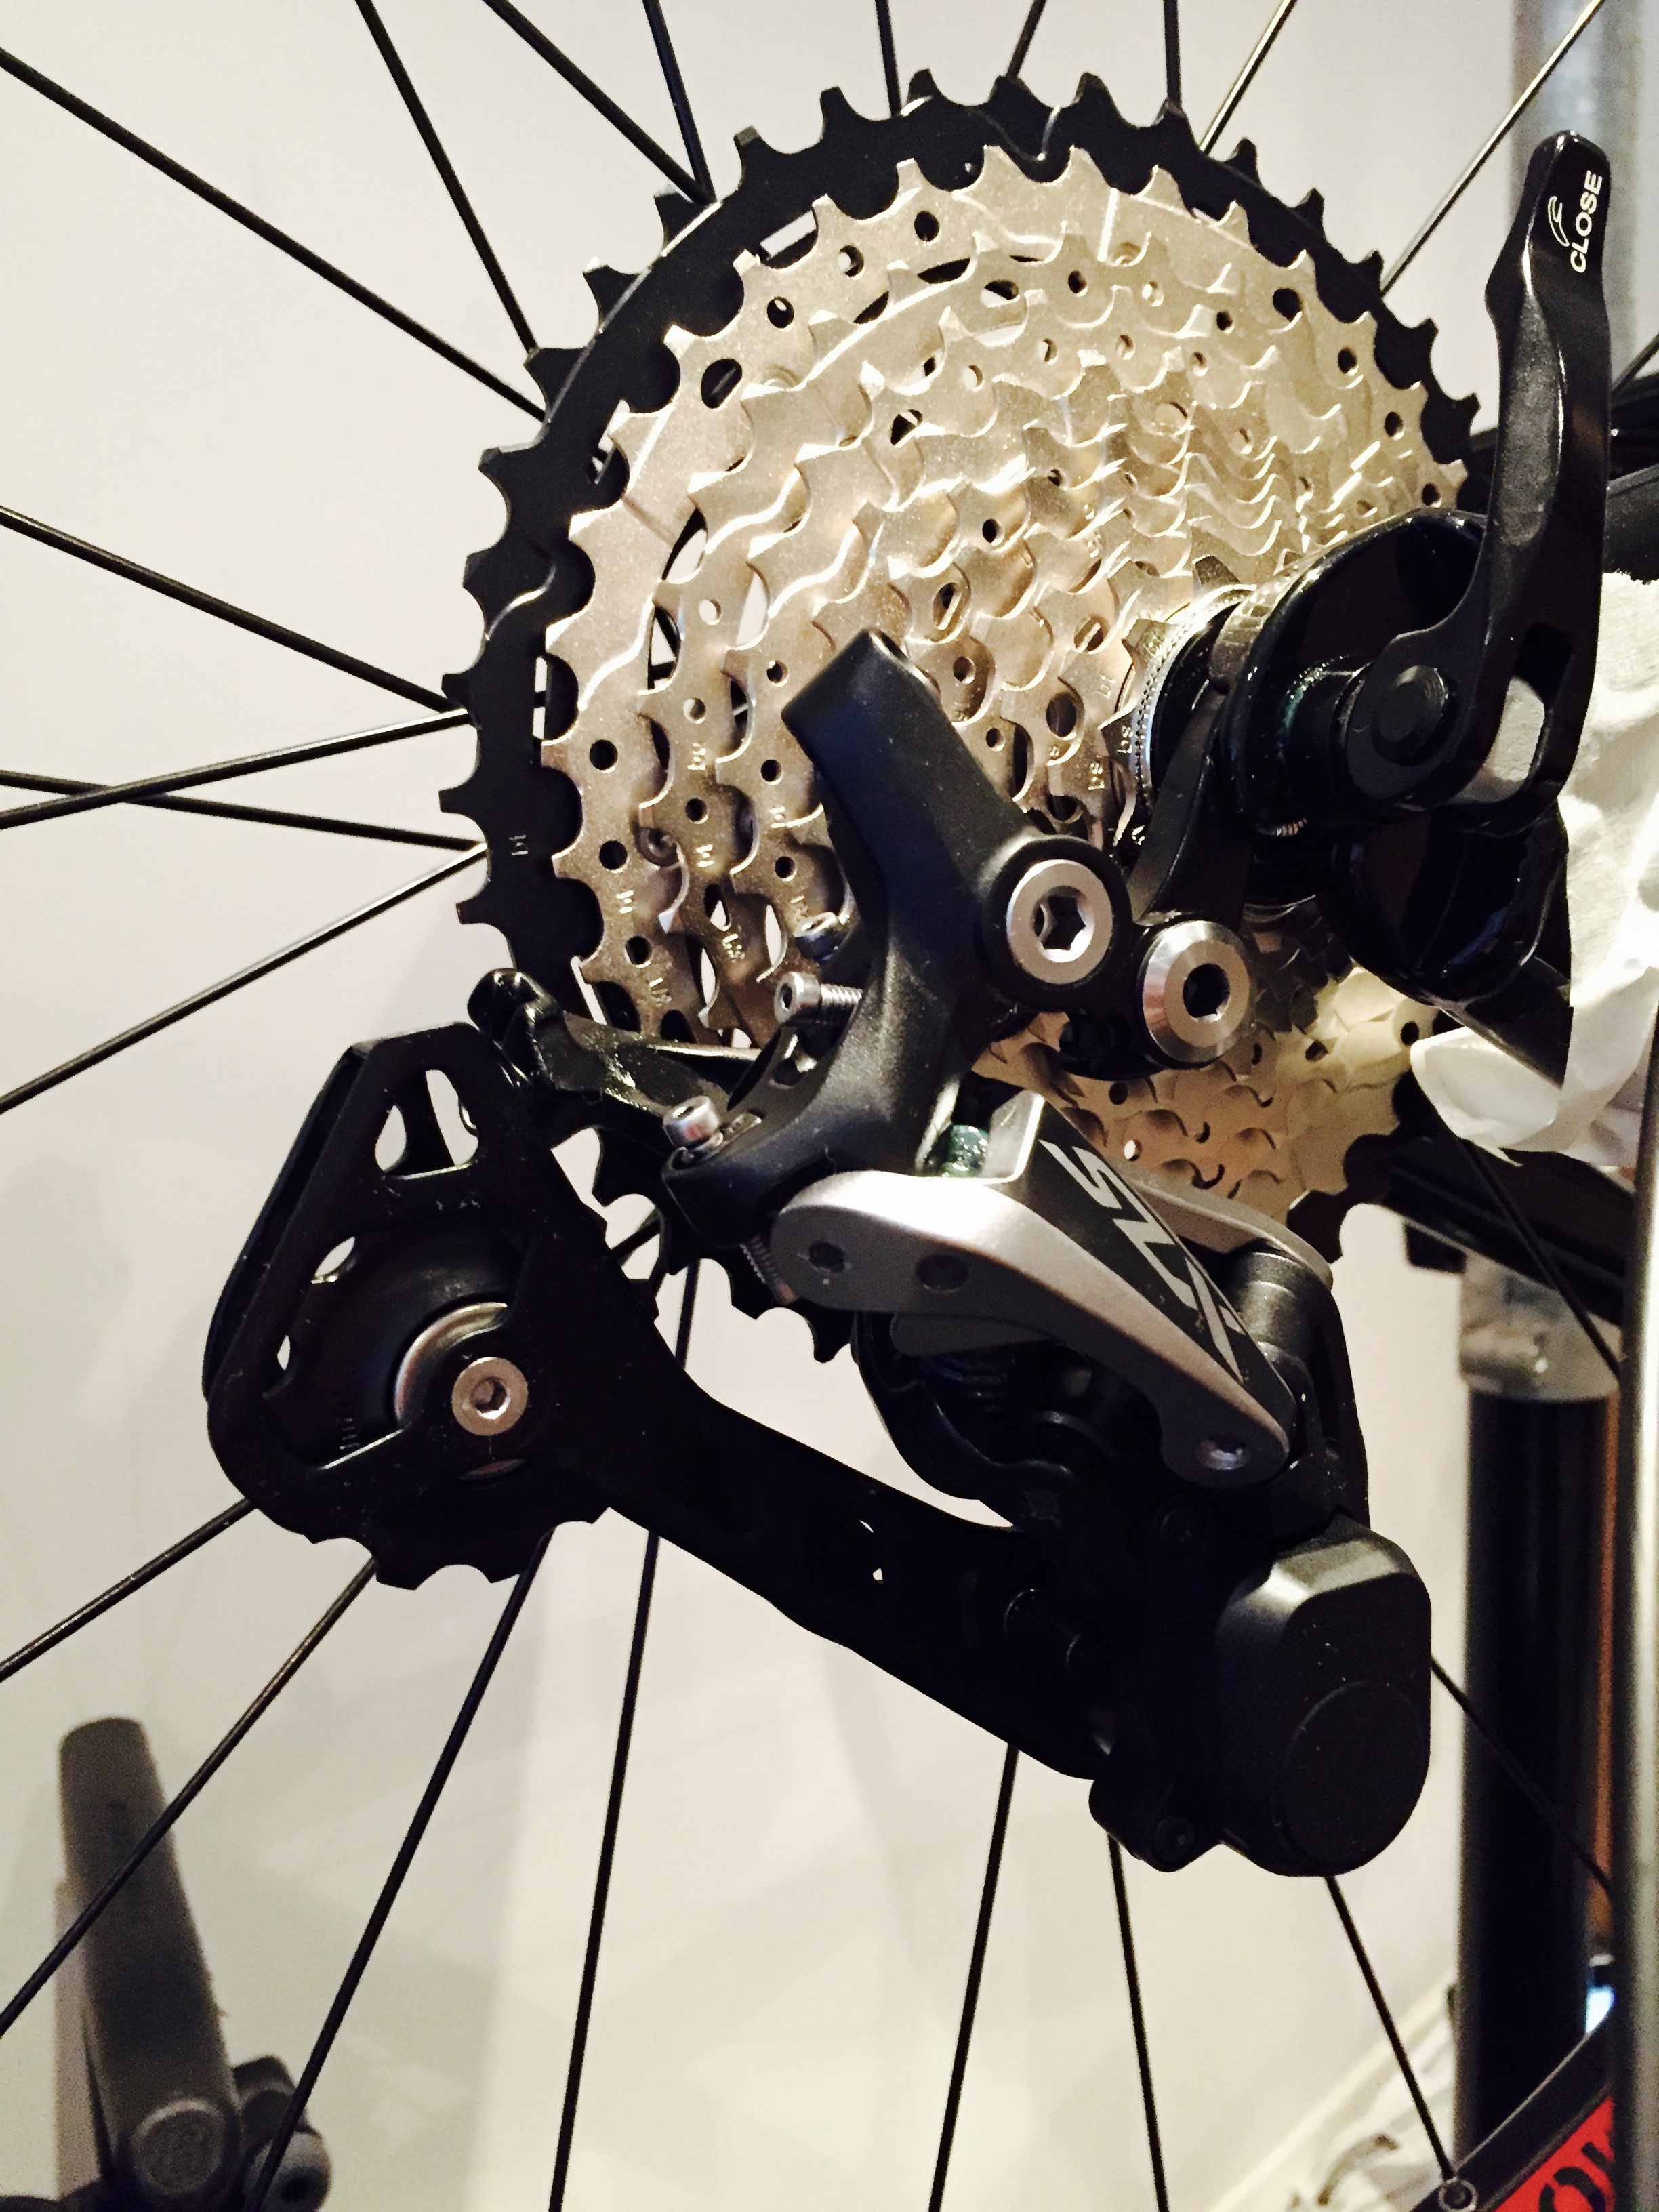
Fitting the cassette and derailleur
Assembling the cassette was a pretty basic job, except I had to borrow a cassette tool to get it tight. It’s only a £6 tool, but it’s probably not worth having for now…
I attached the derailleur to the hanger and did some initial adjustments, but I’ll tune it properly once I get the chain installed.
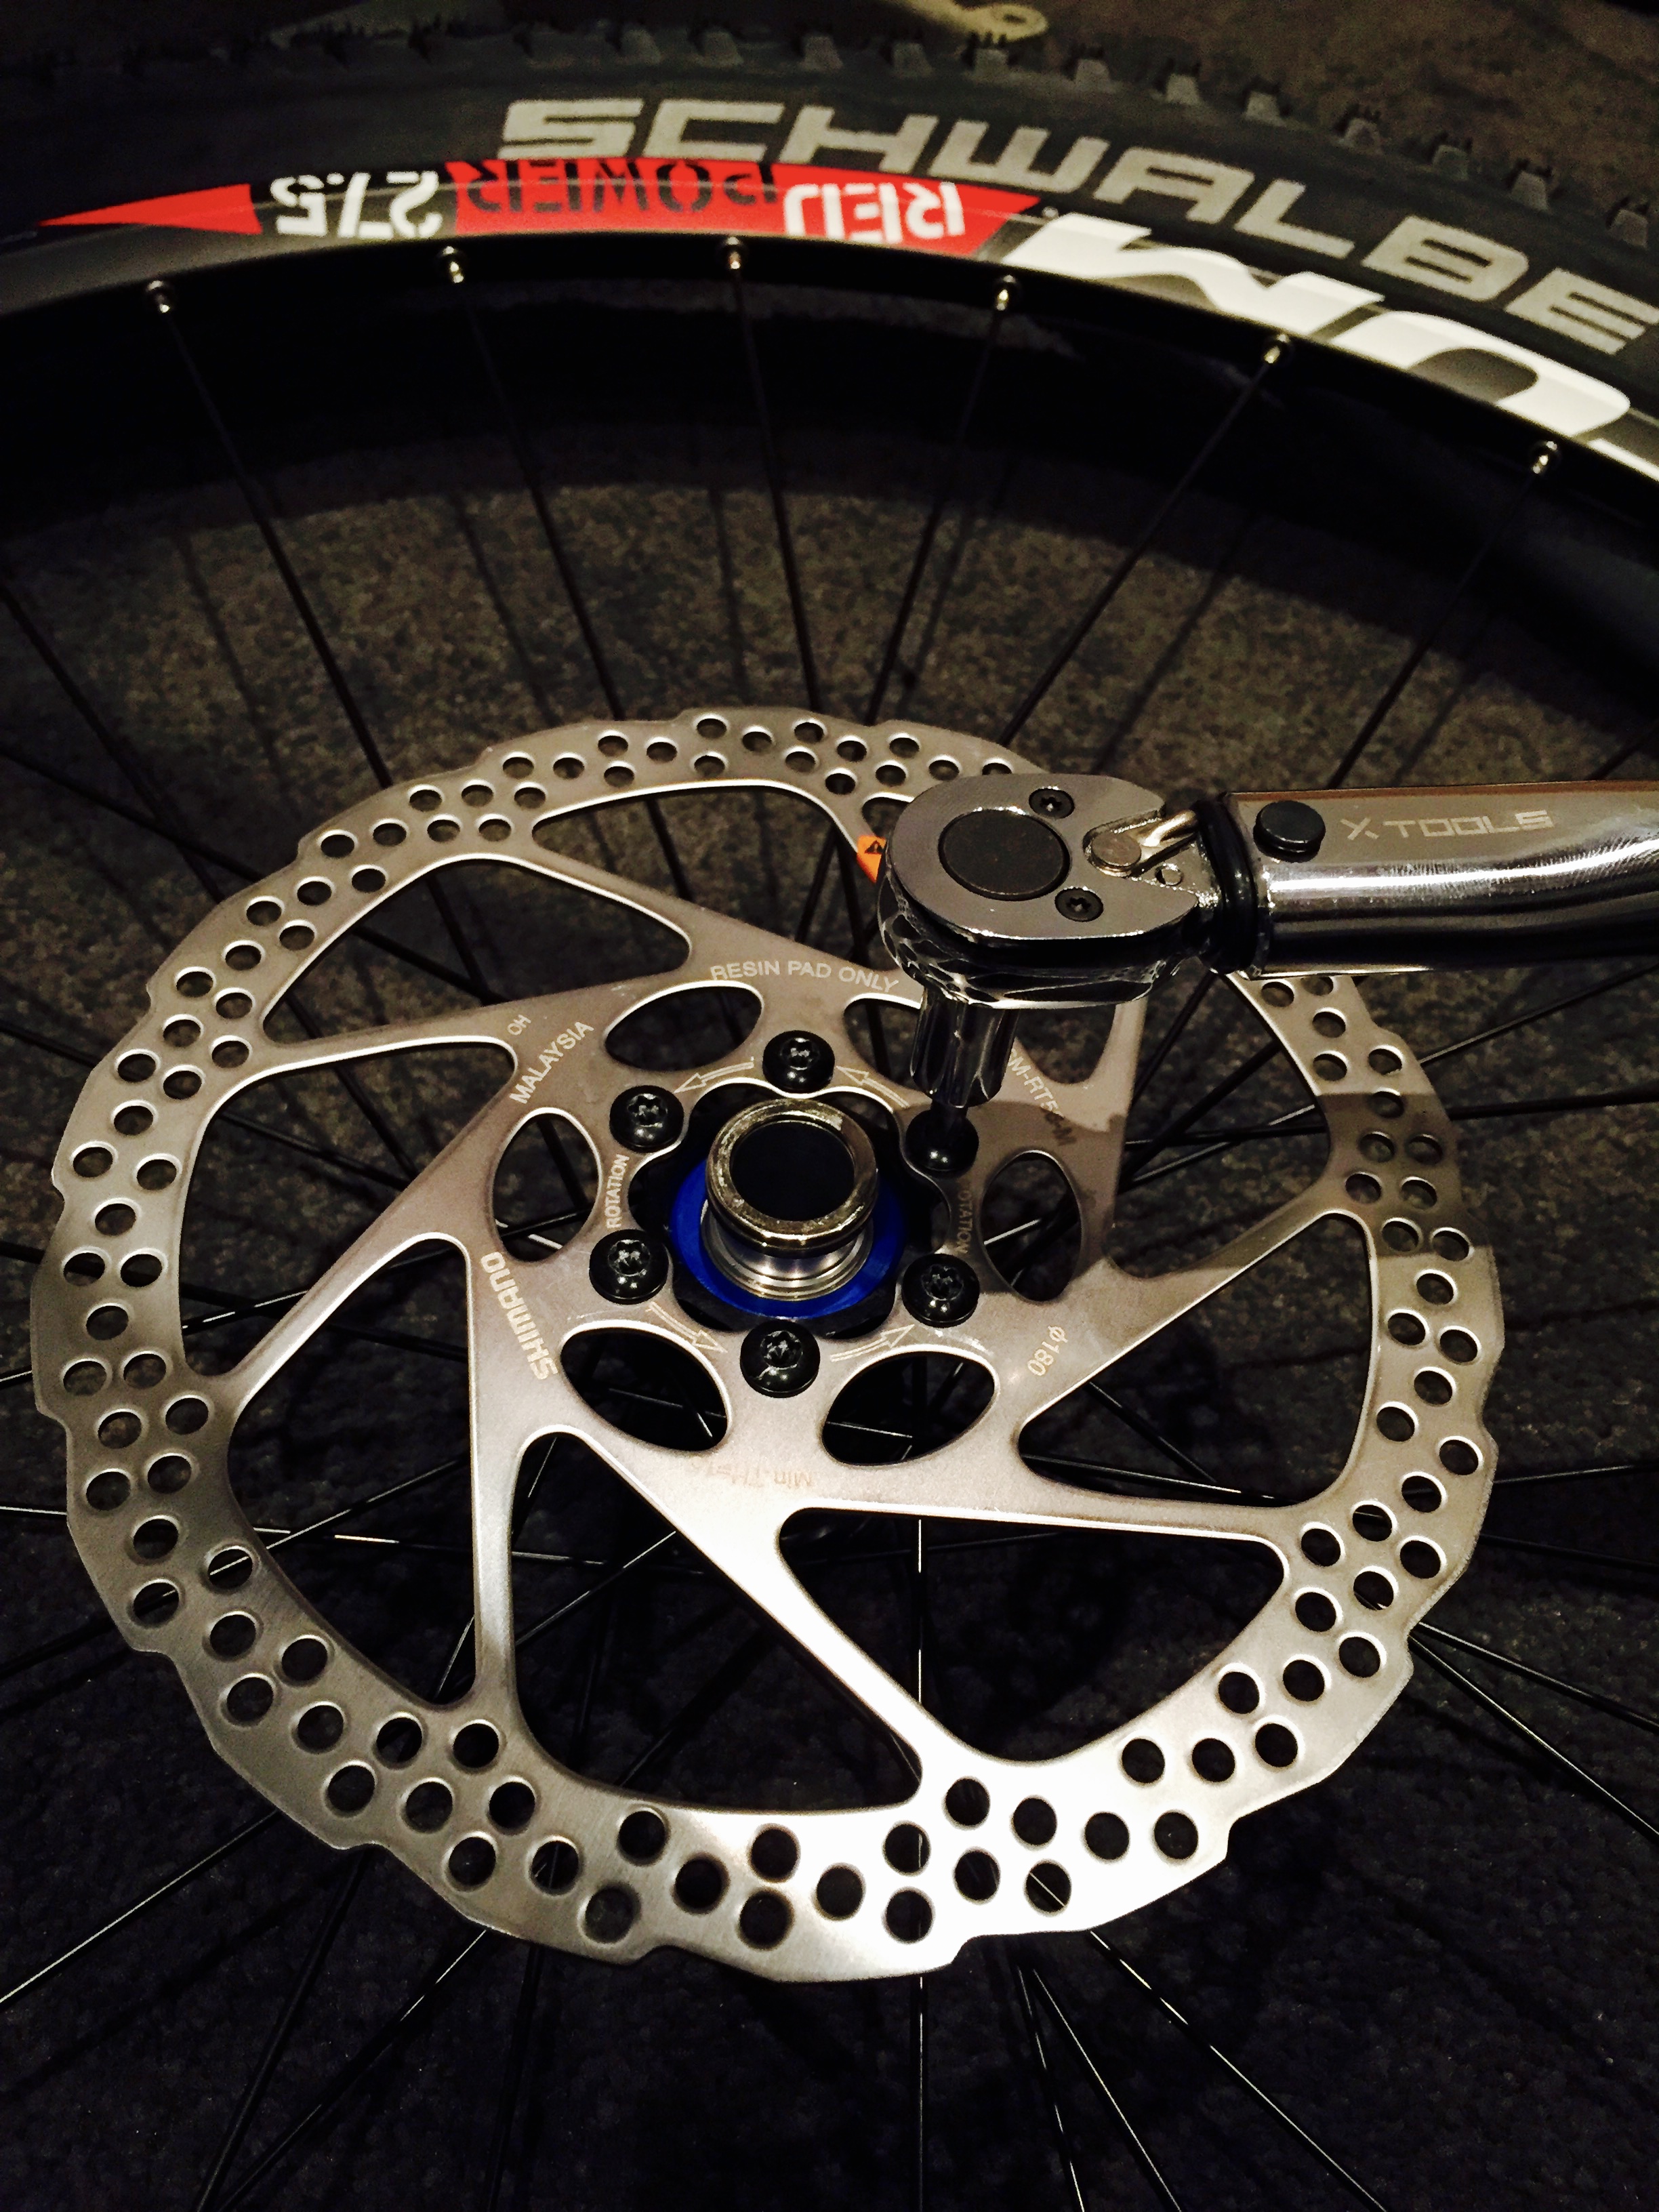
Fitting the disk rotors
Somewhat foolishly, I plucked for 180mm rotors which offer improved braking over 160mm (what I know now is the standard size). So I need to purchase a mount adapter.
Here I am fixing one of the rotors to the hubs.
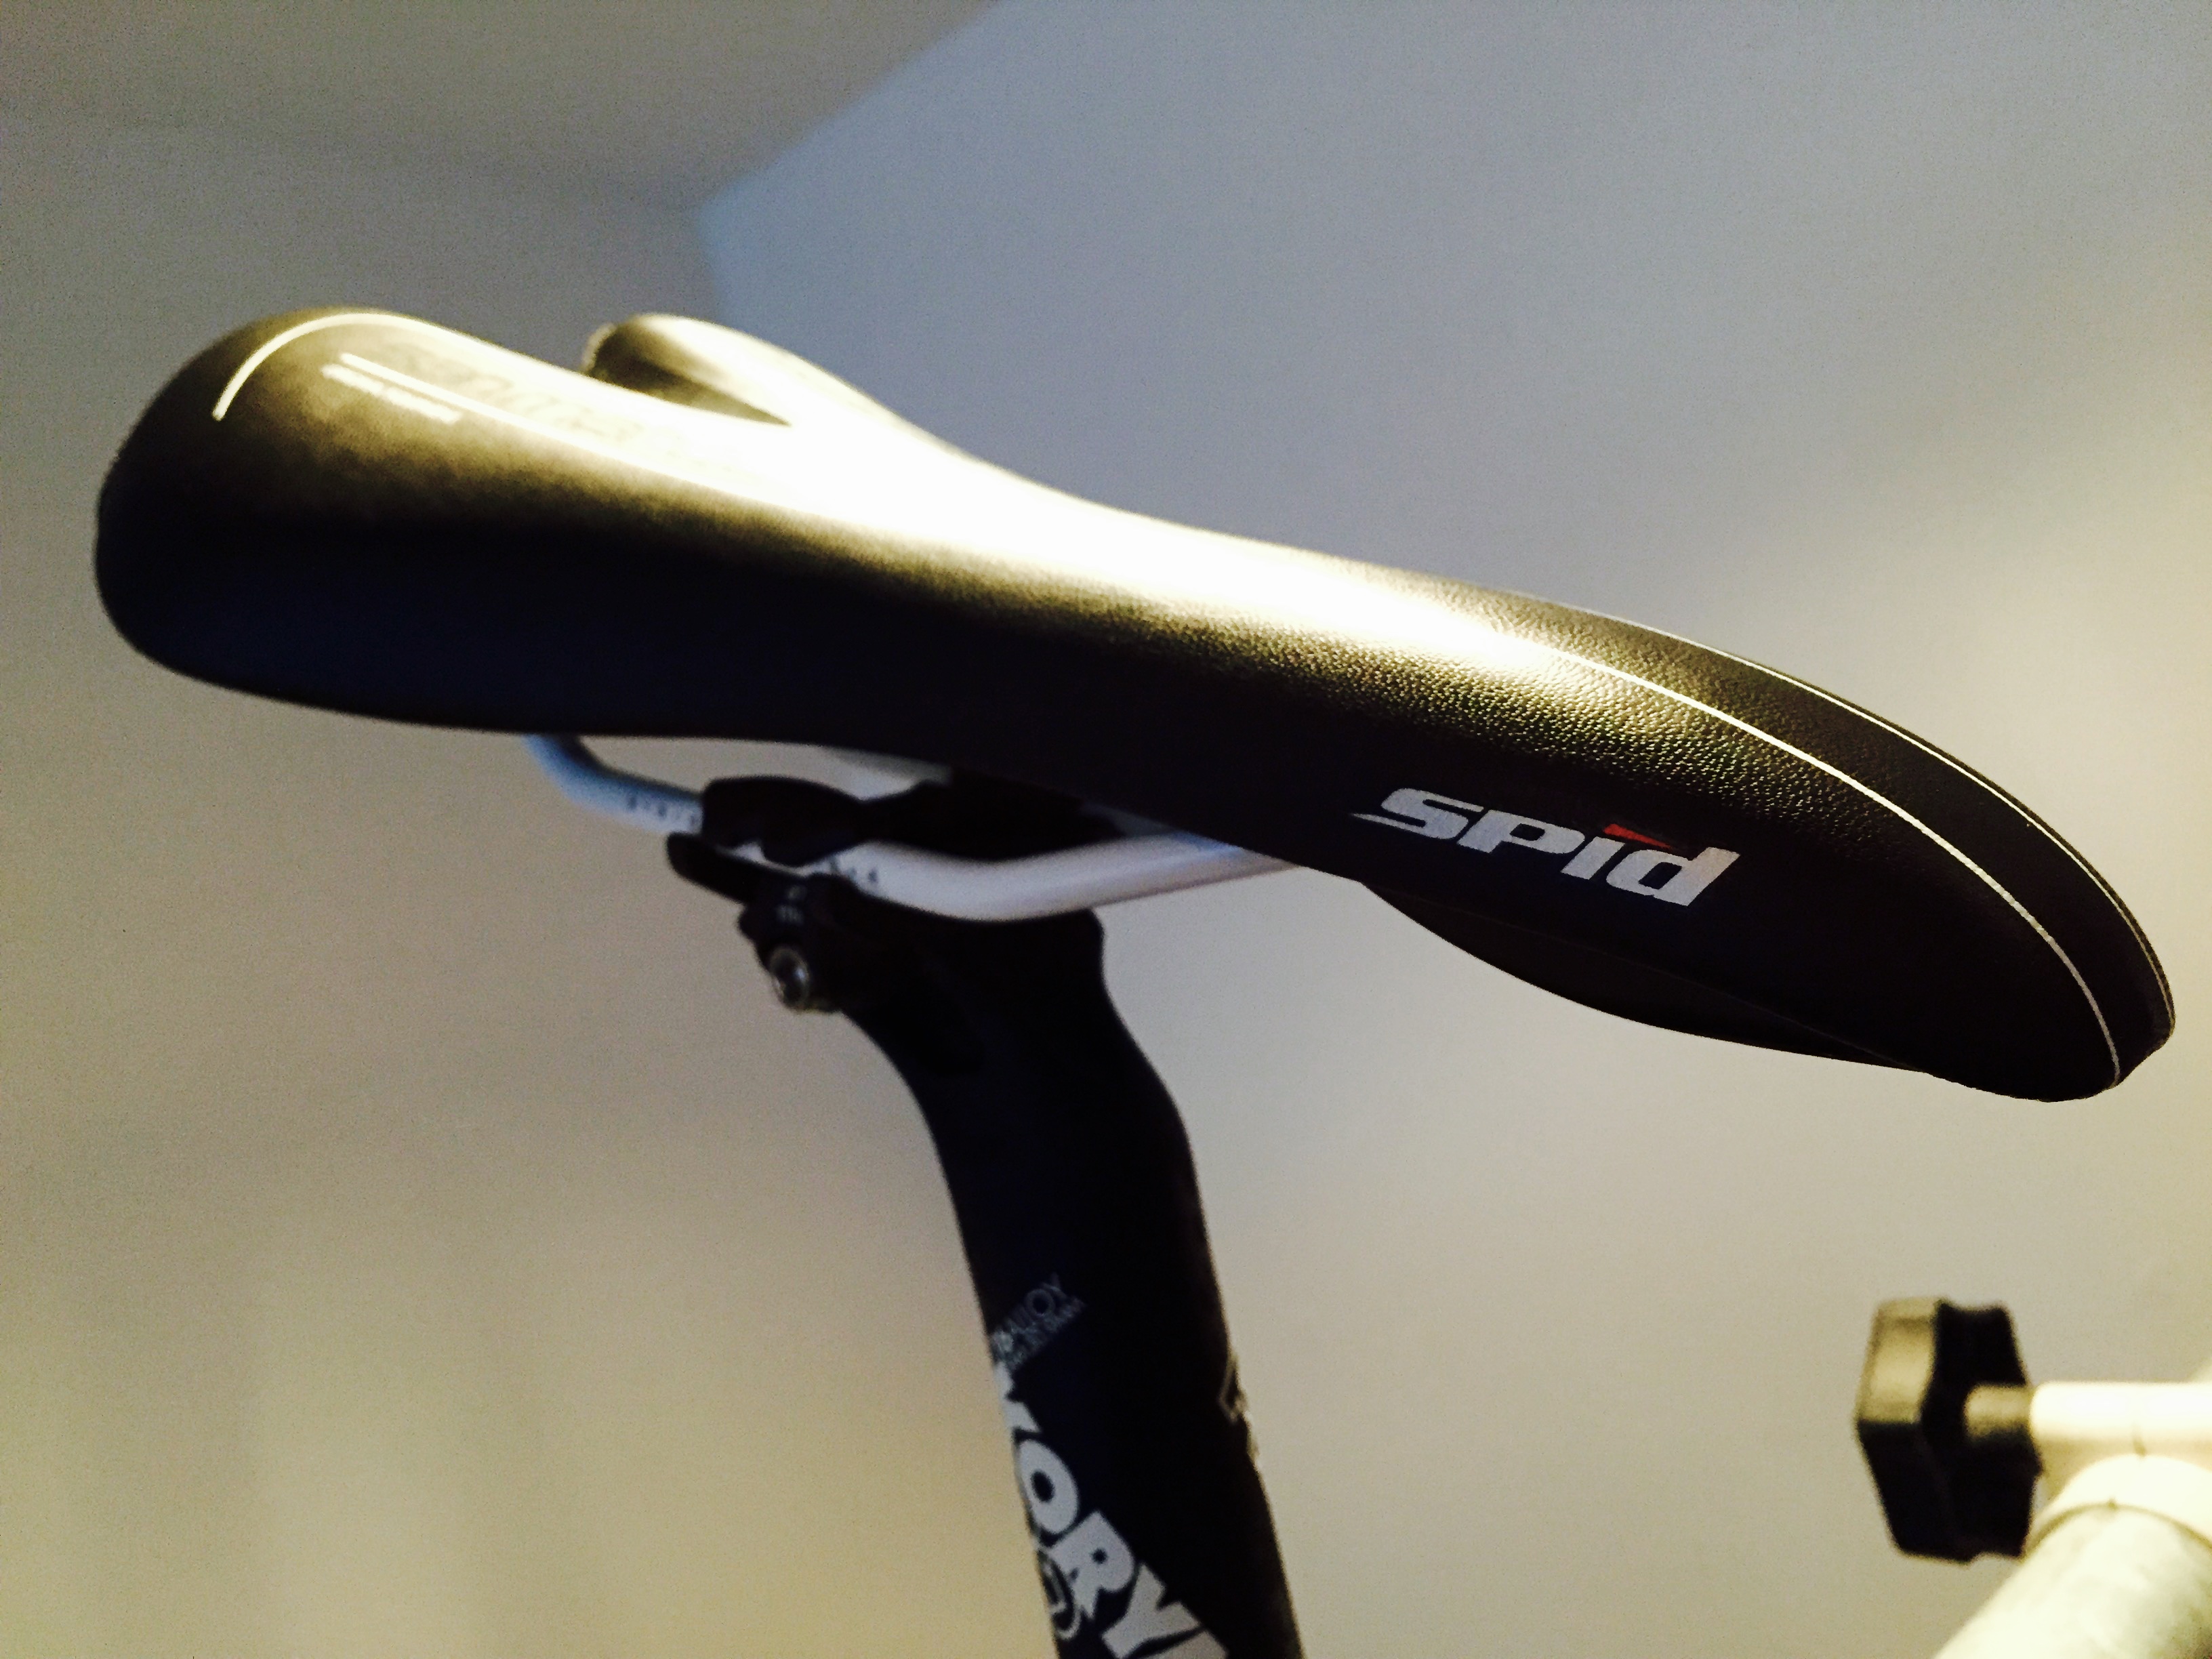
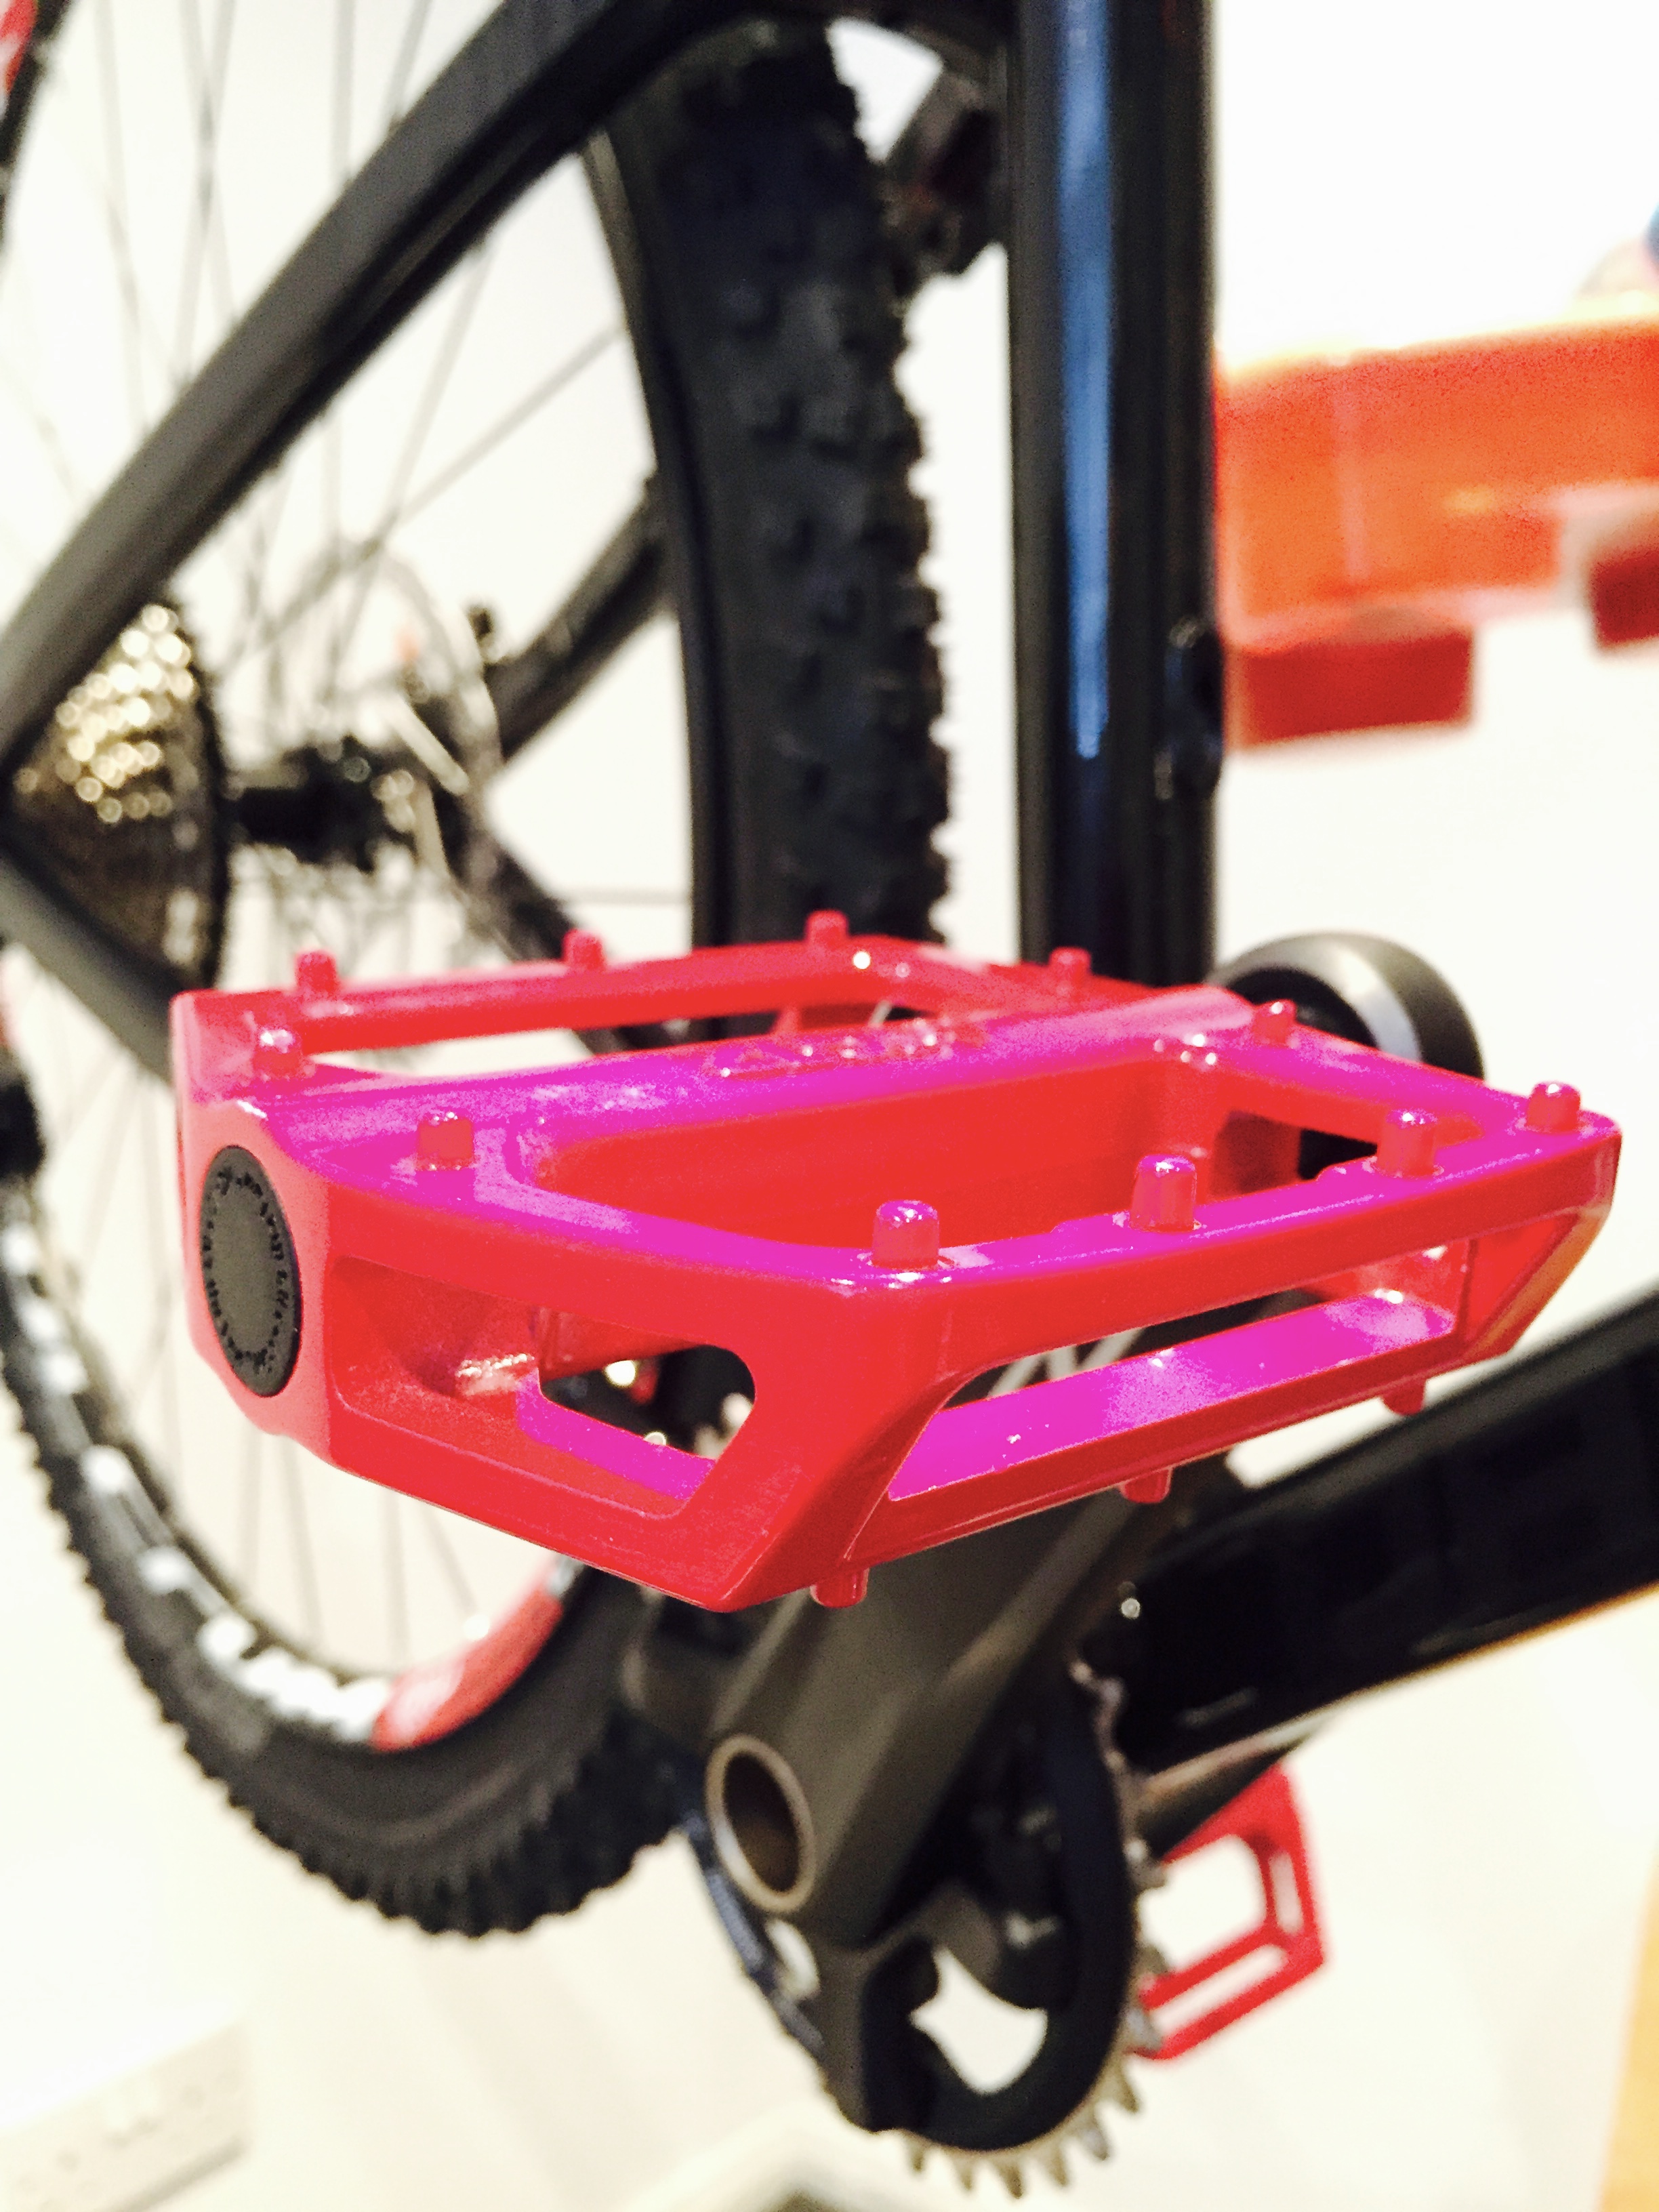
Saddle and peddles
Lastly for this episode, a couple of parts that will actually touch me while I’m riding; saddle and peddles. I cheaped out on these as I figure it’s an easy update in the future. I’m used to clipless pedals from my past riding experience, so I will probably upgrade at some point.
Parts summary
Purchases added in this post:
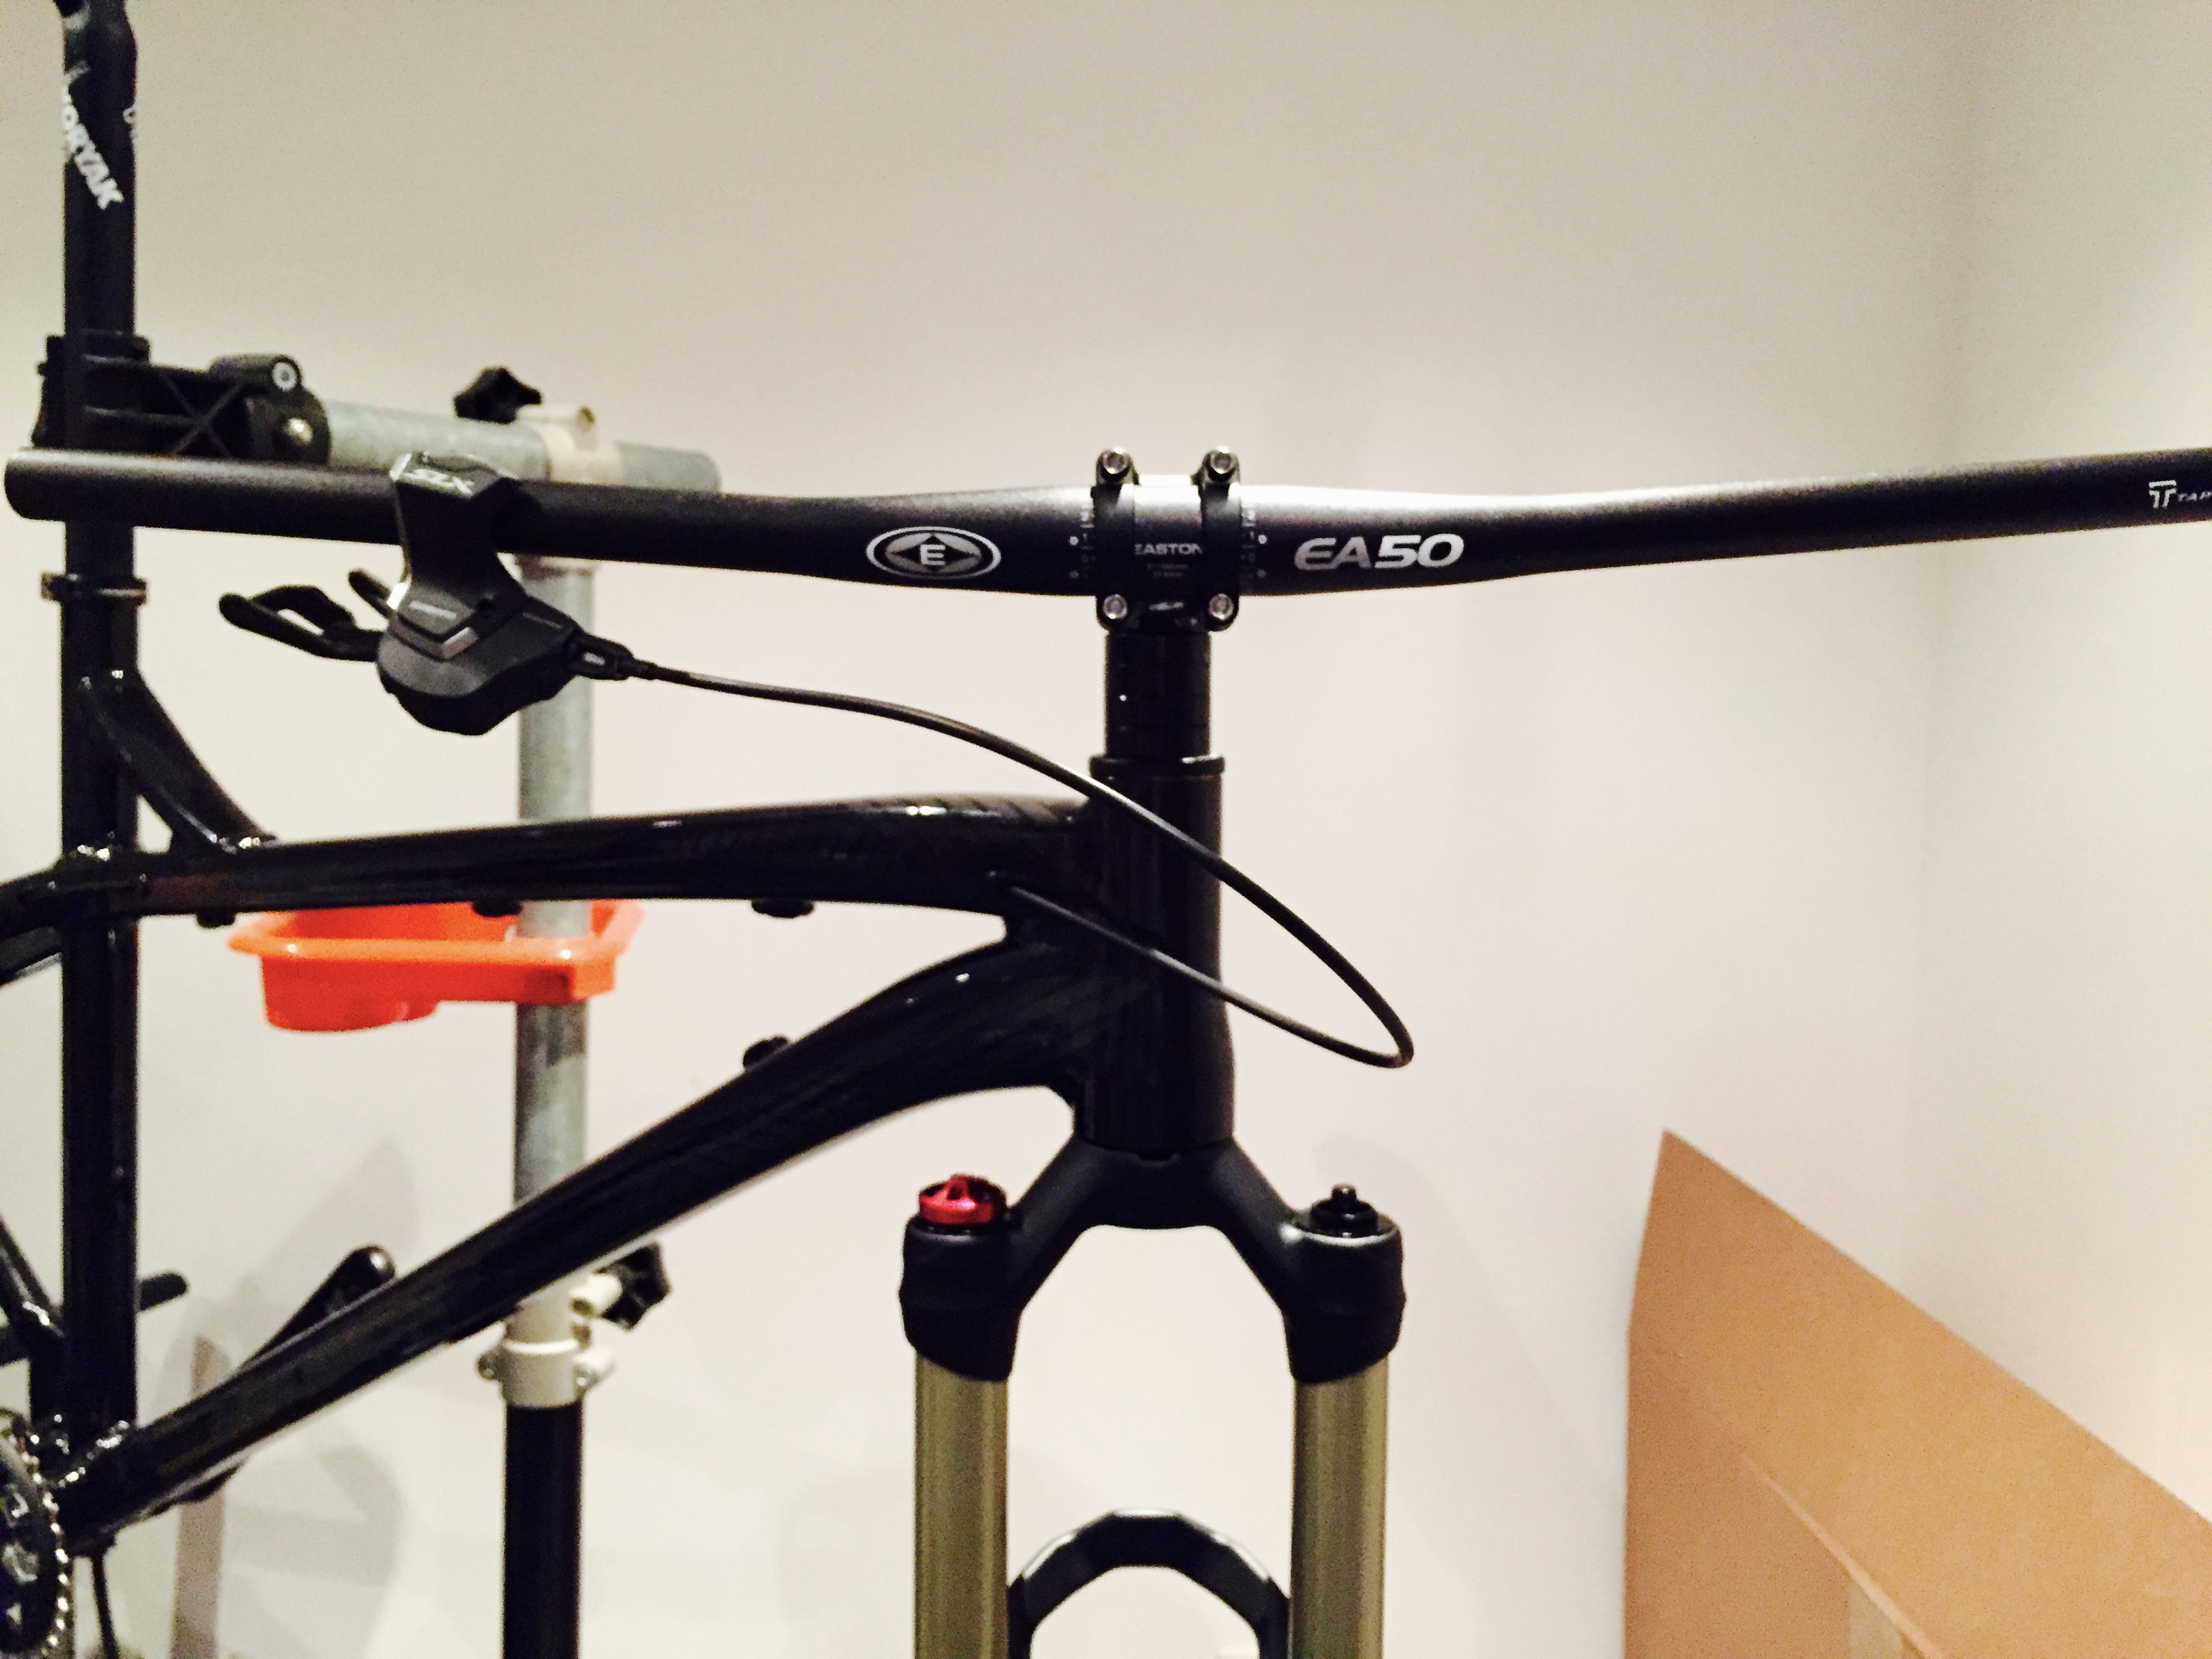
| Component | Price |
| Easton OS handlebars | £15 |
| Shimano XT M800 bottom bracket | £16 |
| Shimano SLX M7000 crankset | £85 |
| Shimano SLX M7000 11spd shifter | £27 |
| Shimano SLX M7000 11spd derailleur | £52 |
| Shimano SLX M7000 11spd 11-42t cassette | £52 |
| Shimano RT56 6-bolt rotor (x2) | £10 each |
| NC-17 STD flat pedals | £17 |
| Schwalbe Rocket Ron Evo tyre (2x) | £14 each |
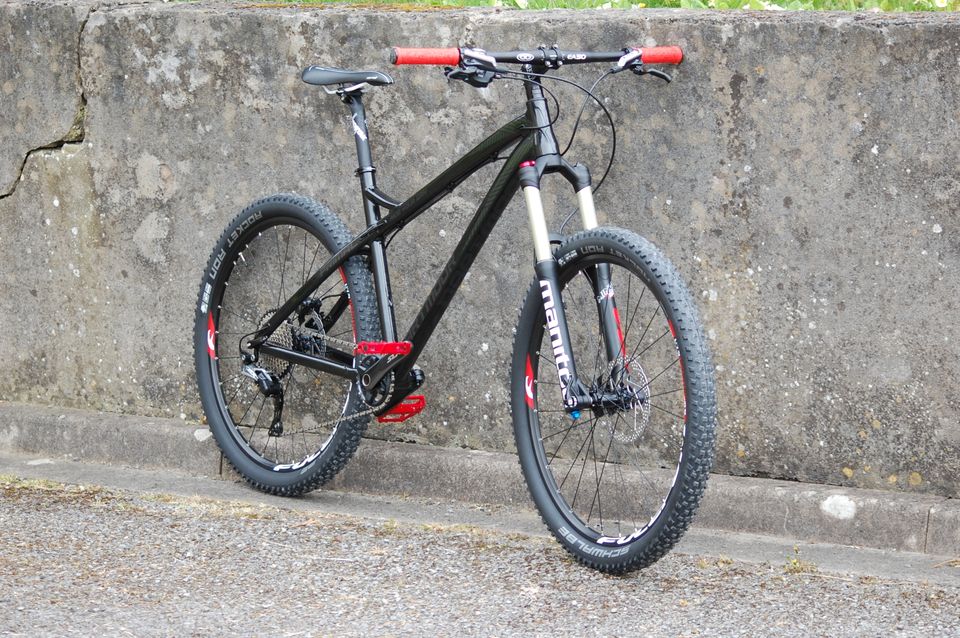
It’s starting to resemble a whole bike now! Stay tuned 📻 .