This post is part of a series on my bike build:
- How it started
- Frameset and forks
- Assembling the stem, headset and forks (this post)
- More assembly
- Mission accomplish
After accruing enough headset spacers and finding a clear evening, I assembled my stem, headset and forks. Now, I managed to save myself some expensive use-once tooling (or a trip to the local bike shop) by buying a frame with an integrated headset, but a little creative DIY was necessary when fitting these parts.
Fitting the crown race
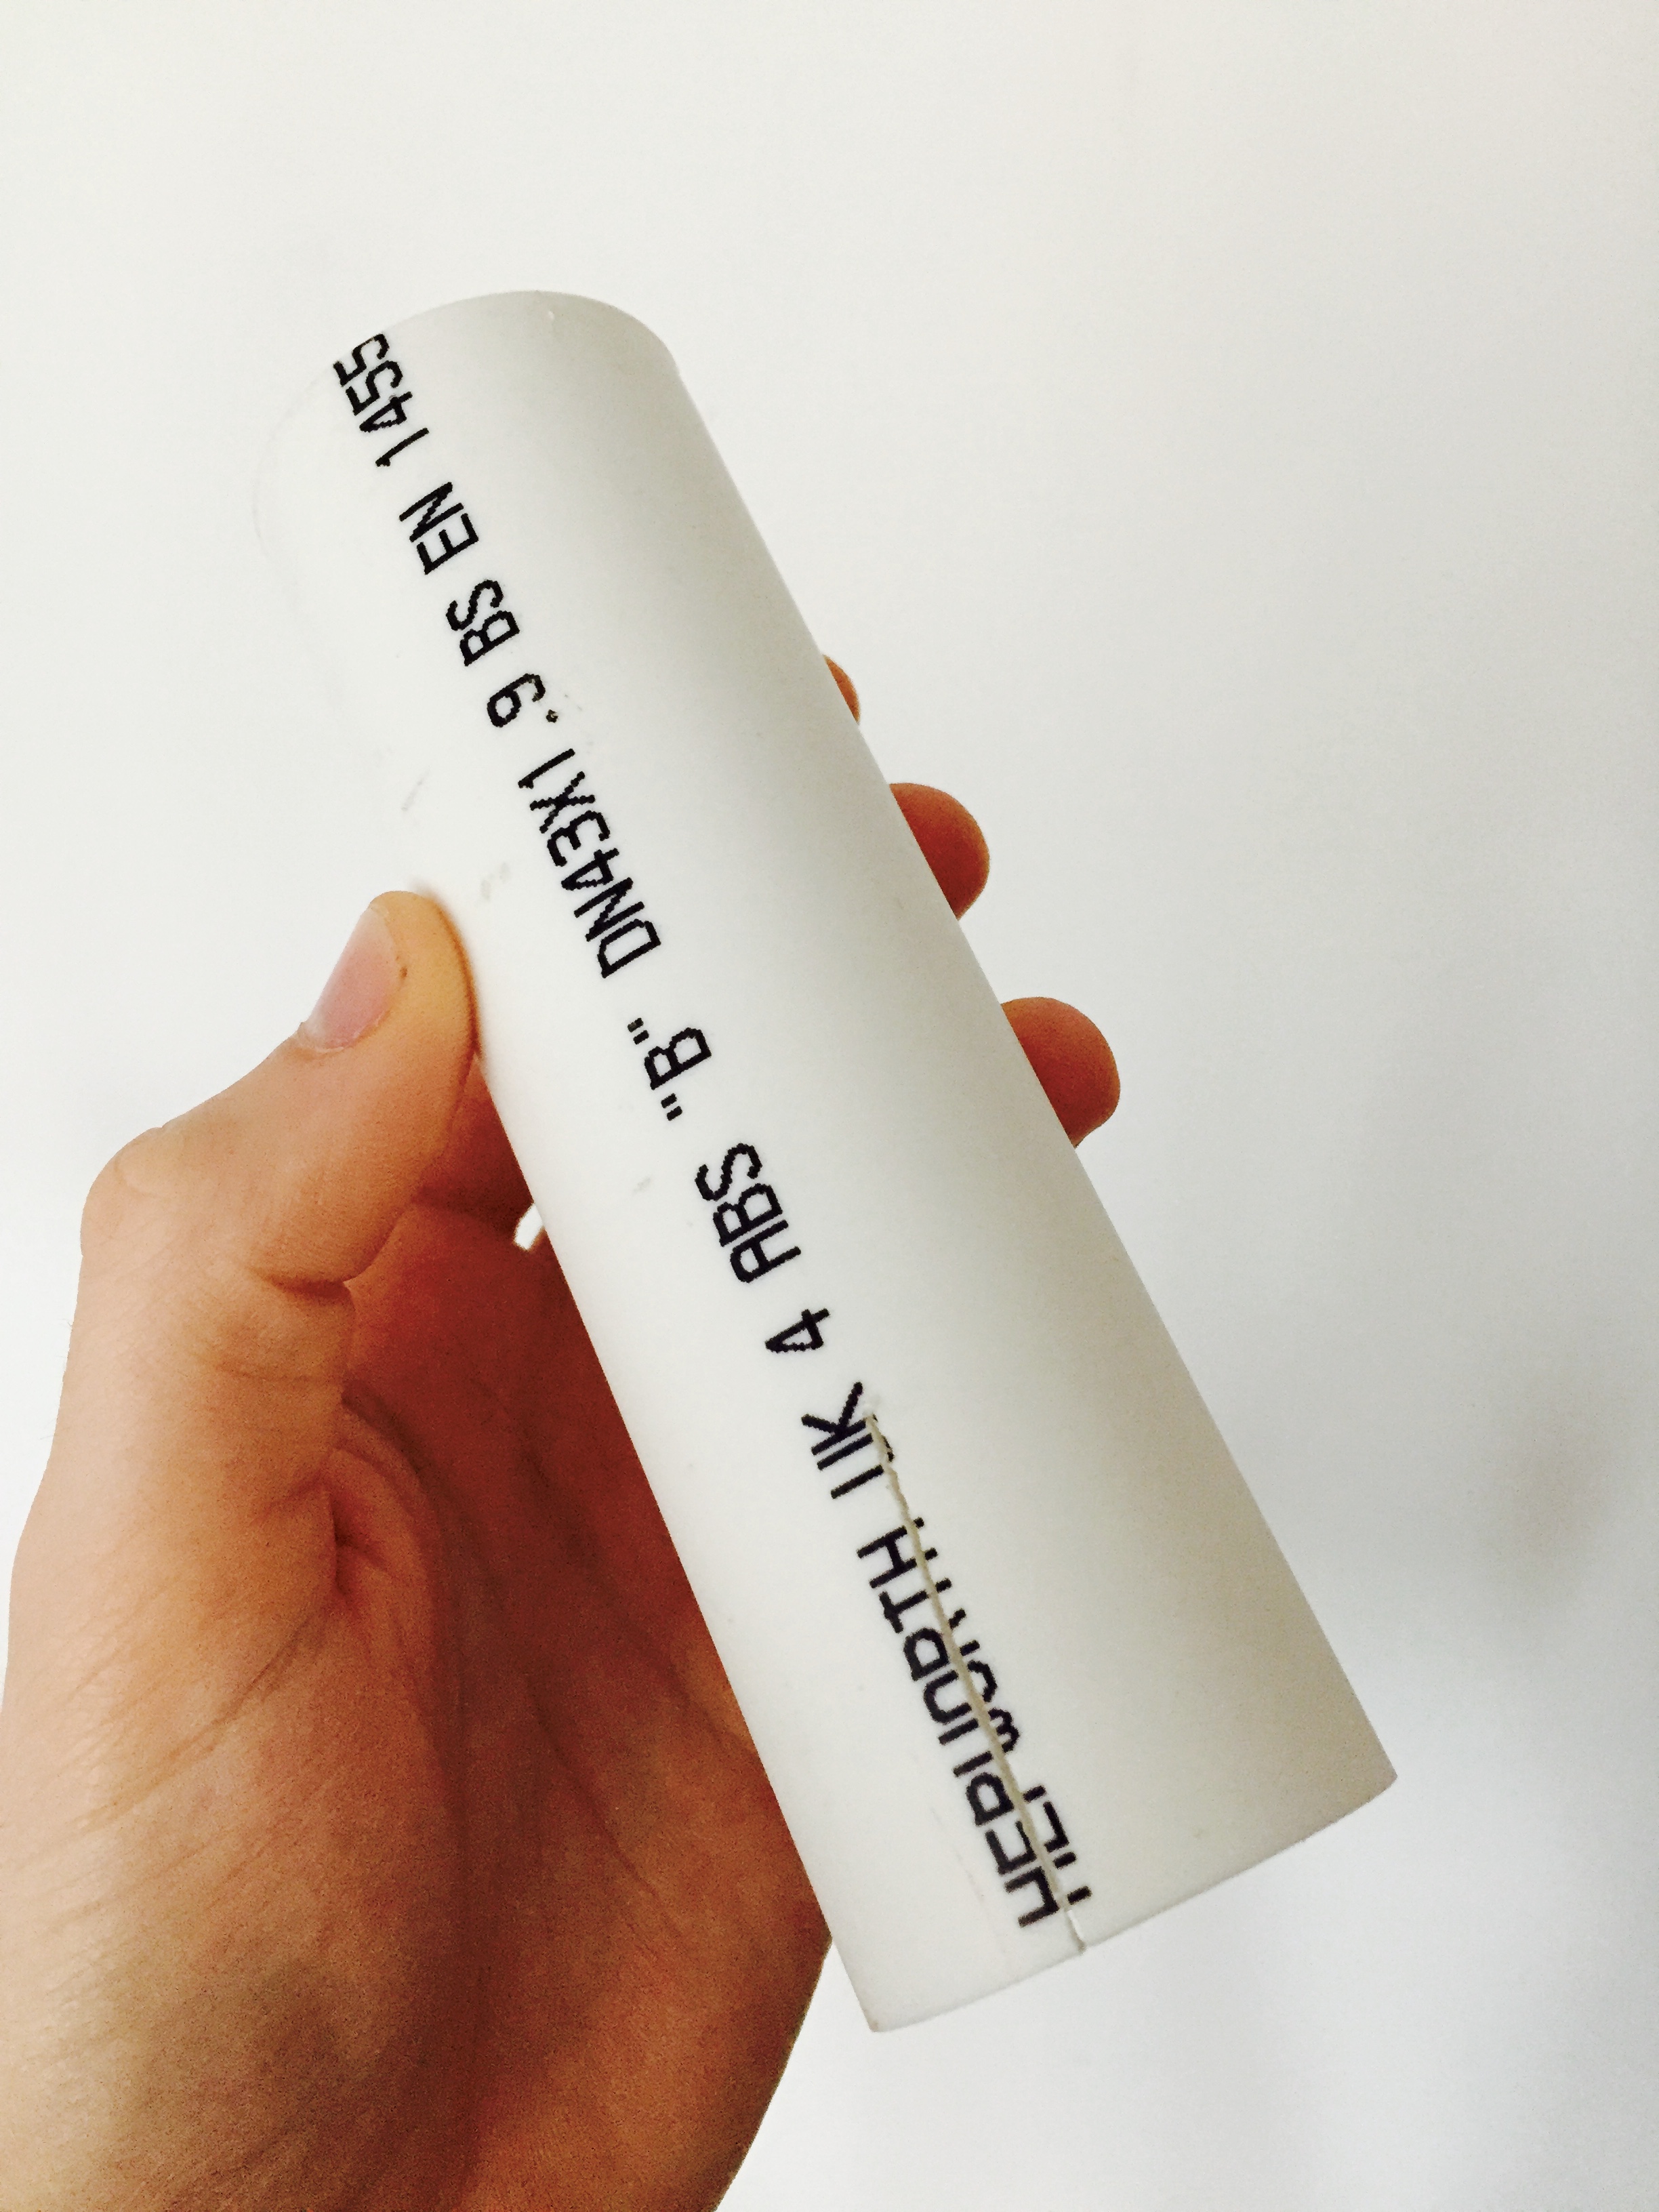
The only aspect of the headset that needed “pressing” of any kind was the crown race – basically a snugly-fit washer that sits on the part of the fork crown that interfaces with the lower headset bearings. Due to the snug-ness of the fit, this part essentially needs bashing on, and the traditional method is to use a piece of plastic tubing. I had some lying around the house which was almost wide enough, so I made some vertical cuts in it to allow it to flare. Perfect!
Below: DIY crown race tool.
Above: DIY crown race tool in use!
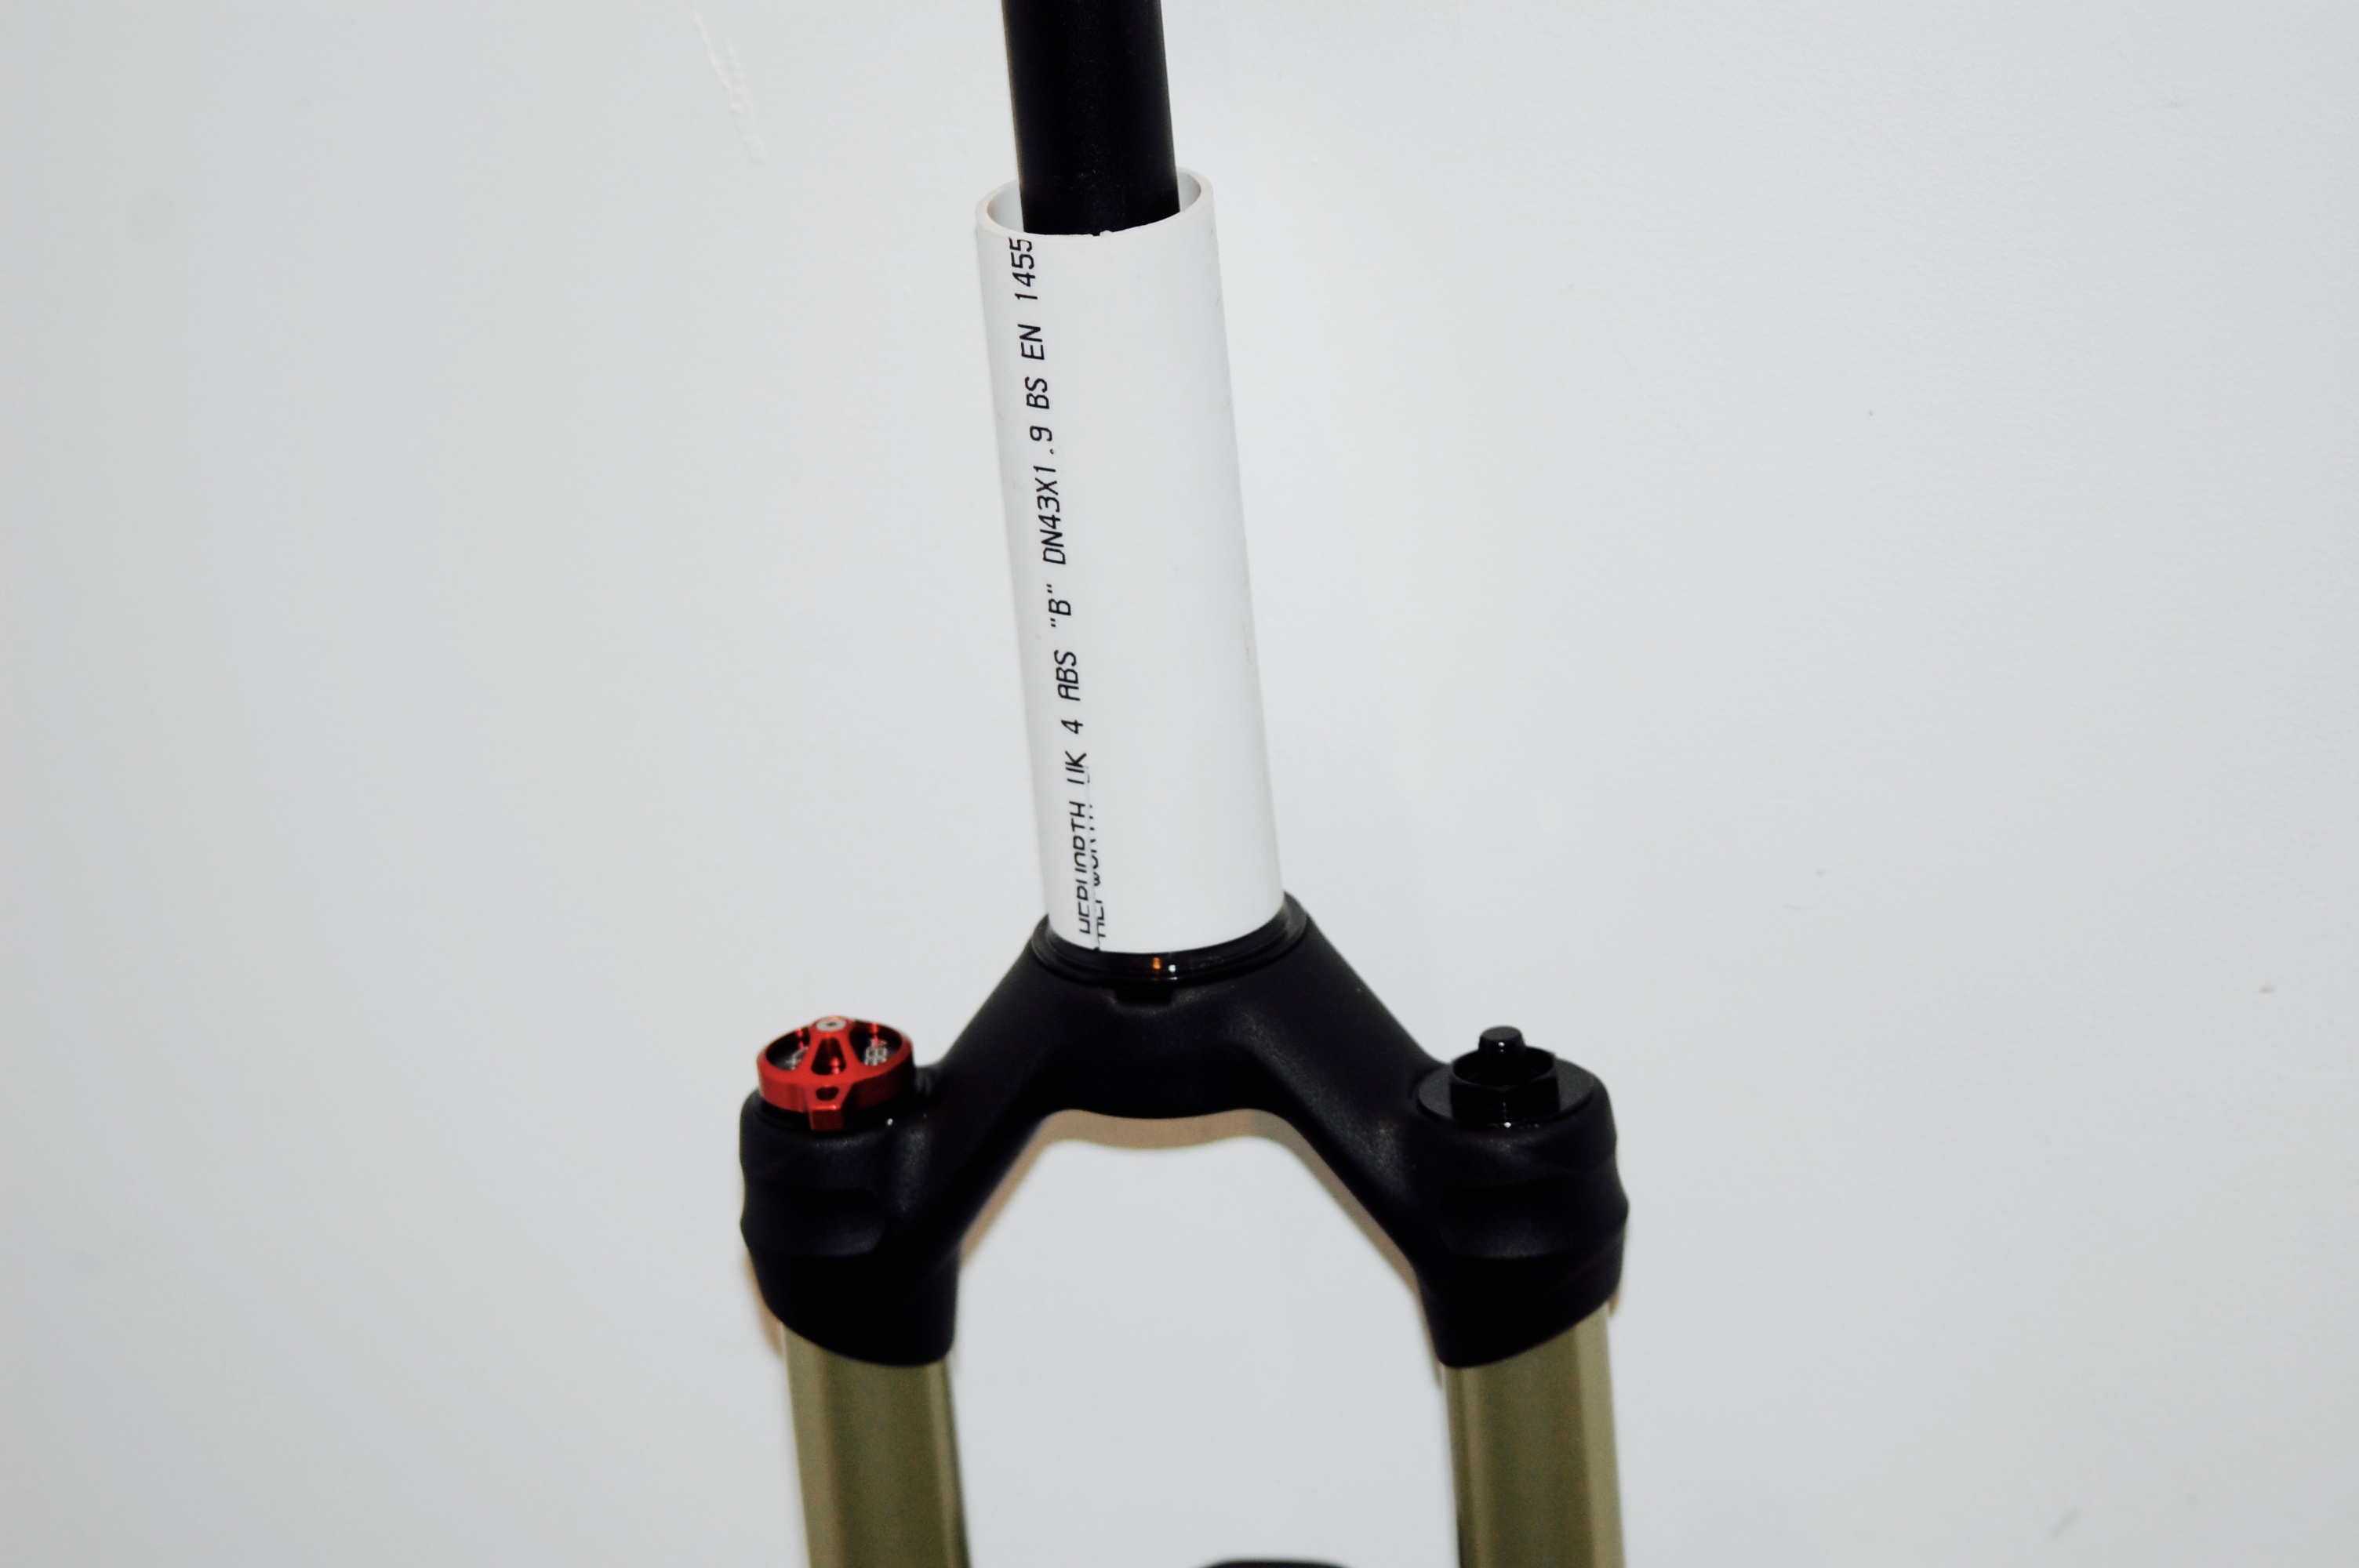
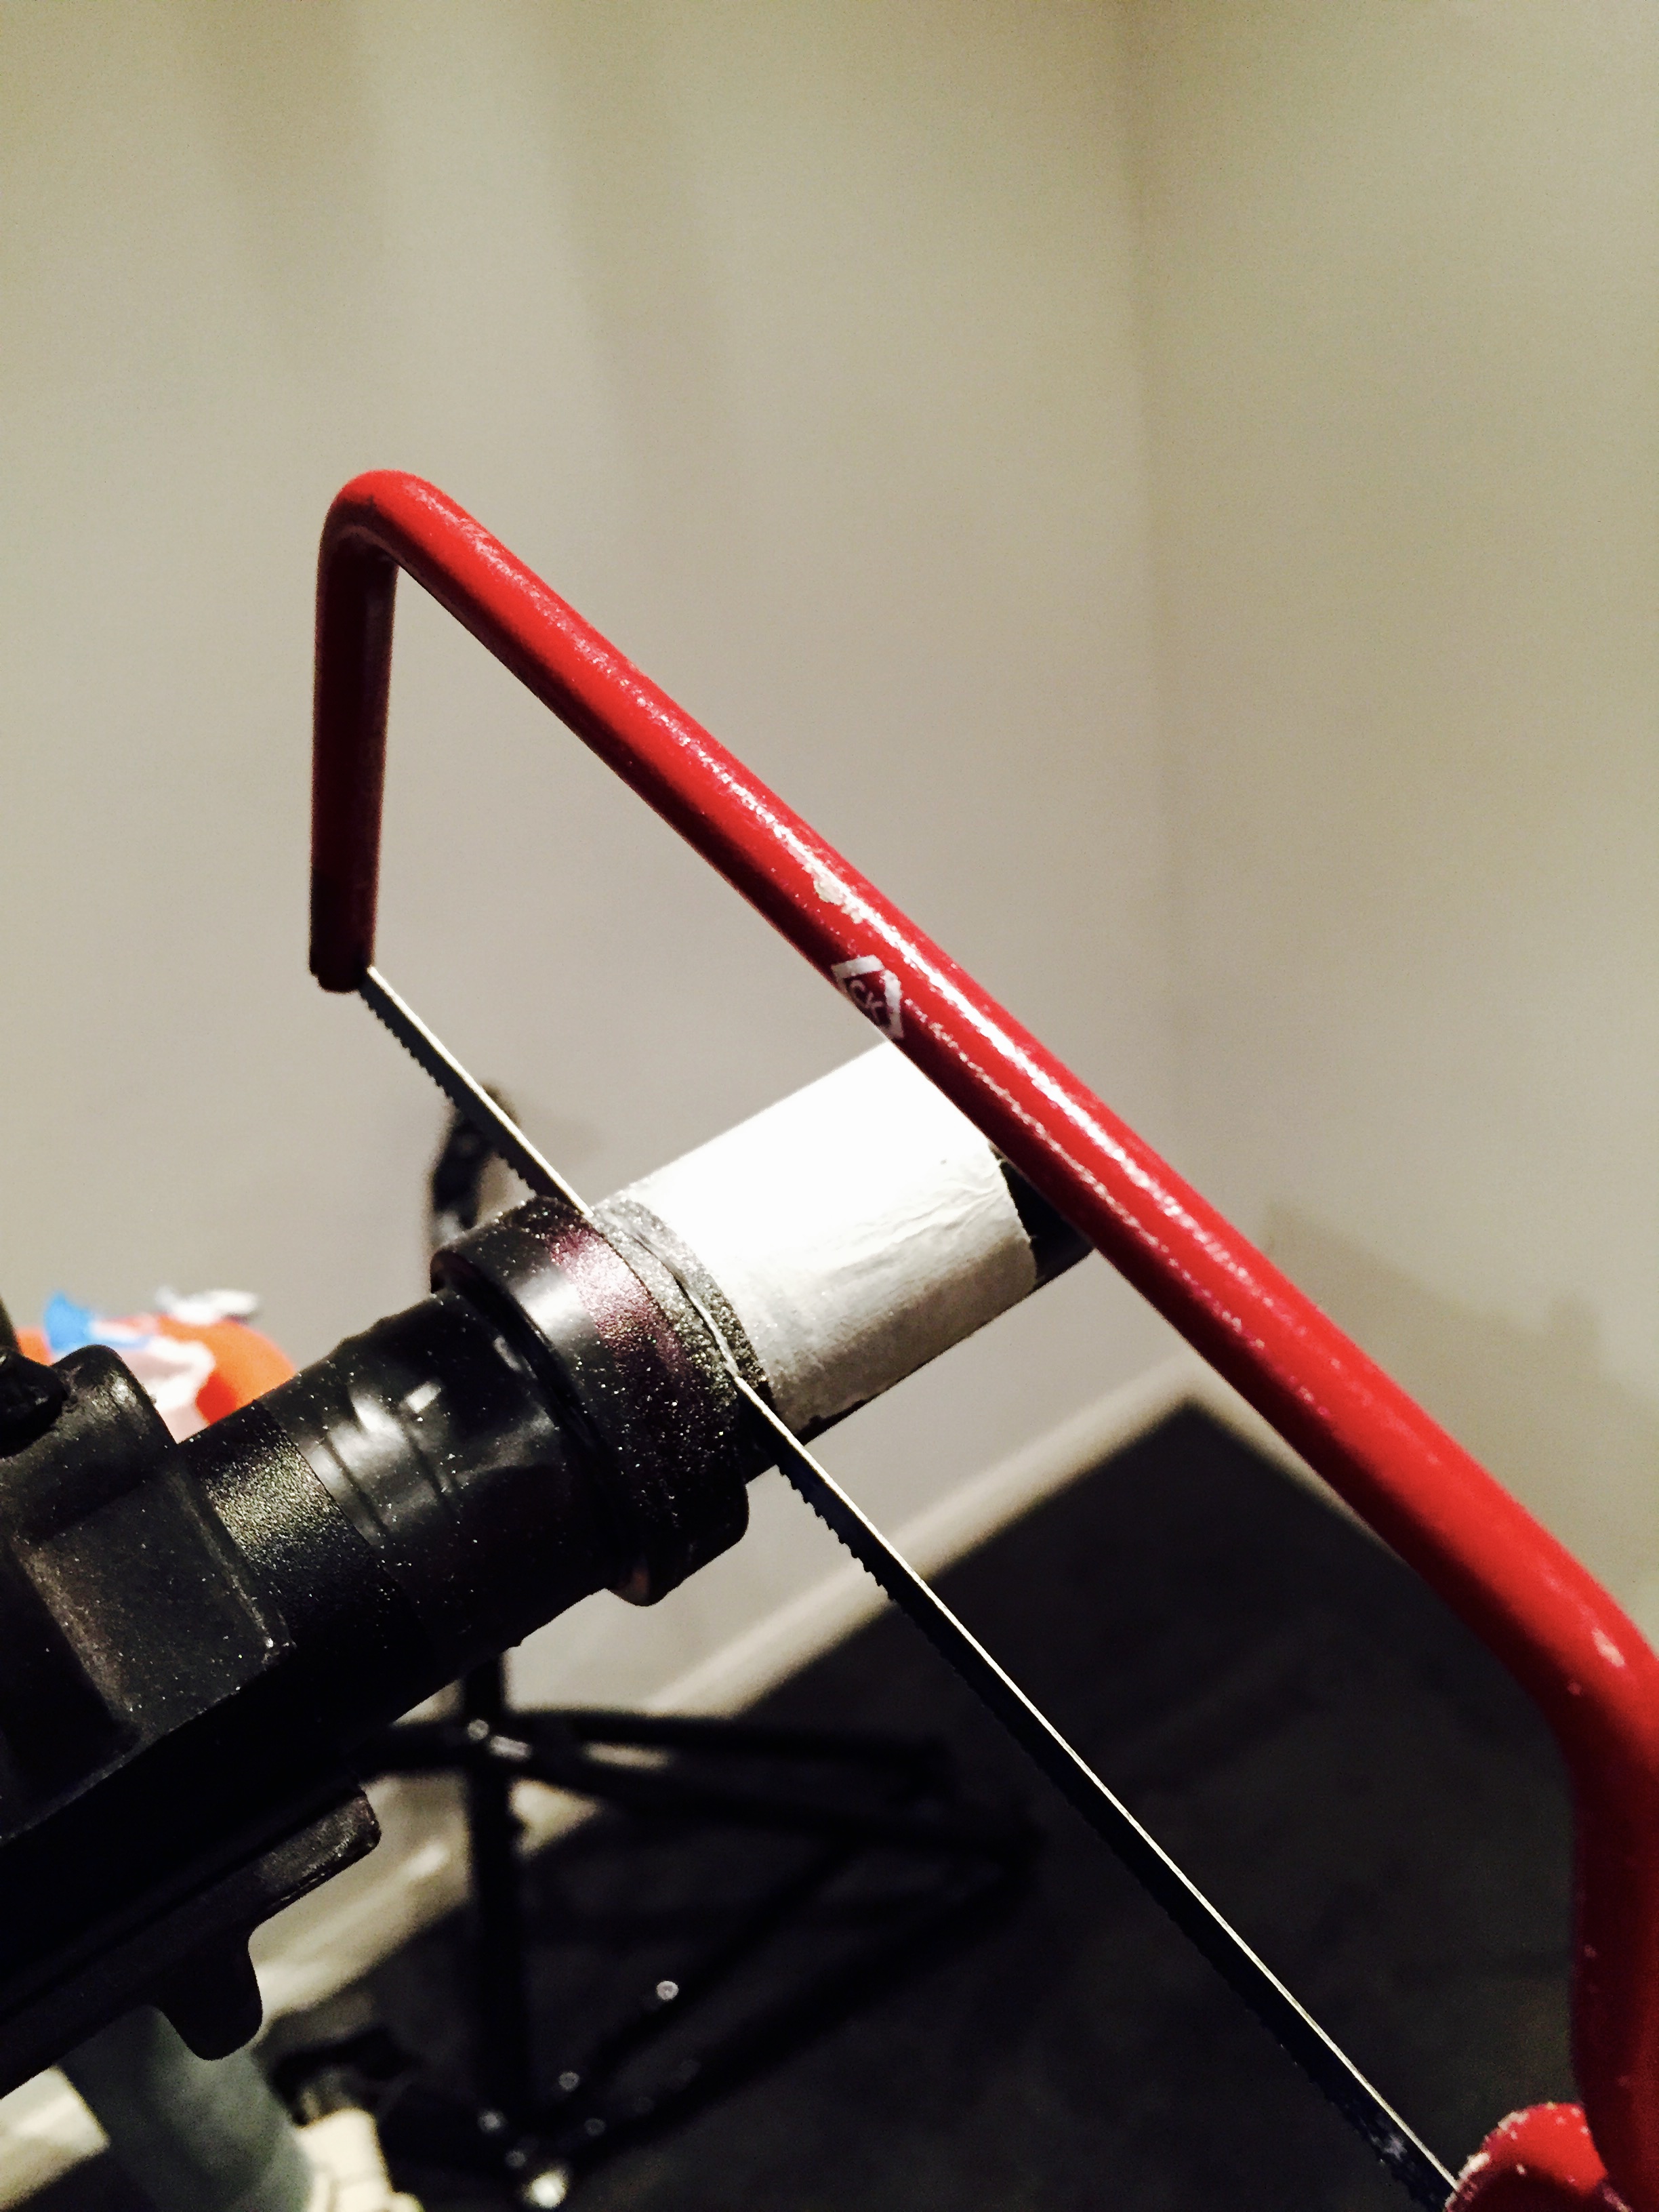
Cutting the steerer
Forks are sold with steerer tubes (the part that sticks up into the frame) that are generally too long, such that they will fit any bike. You then have to cut them down to an appropriate size for your bike.
Conventional wisdom stipulates that to cut the steerer a special tool is required so that you achieve a perfectly straight cut with your hacksaw. However, these tools a) cost money b) don't result in a perfectly straight cut anyway and c) you don't even need a perfect cut. The top of the forks is pressed by the stem top cap, but it's not a proper load-bearing surface, it's just used to preload the headset before the stem bolts are tightened.
So I dry assembled the forks, headset, frame, spacers and stem and marked out where I wanted to cut. With a combination of tape and some used spacers set up a crude DIY jig, carefully made a straight-ish cut with a junior hacksaw, then tidied it up with a file.
Below: Cutting the steerer.
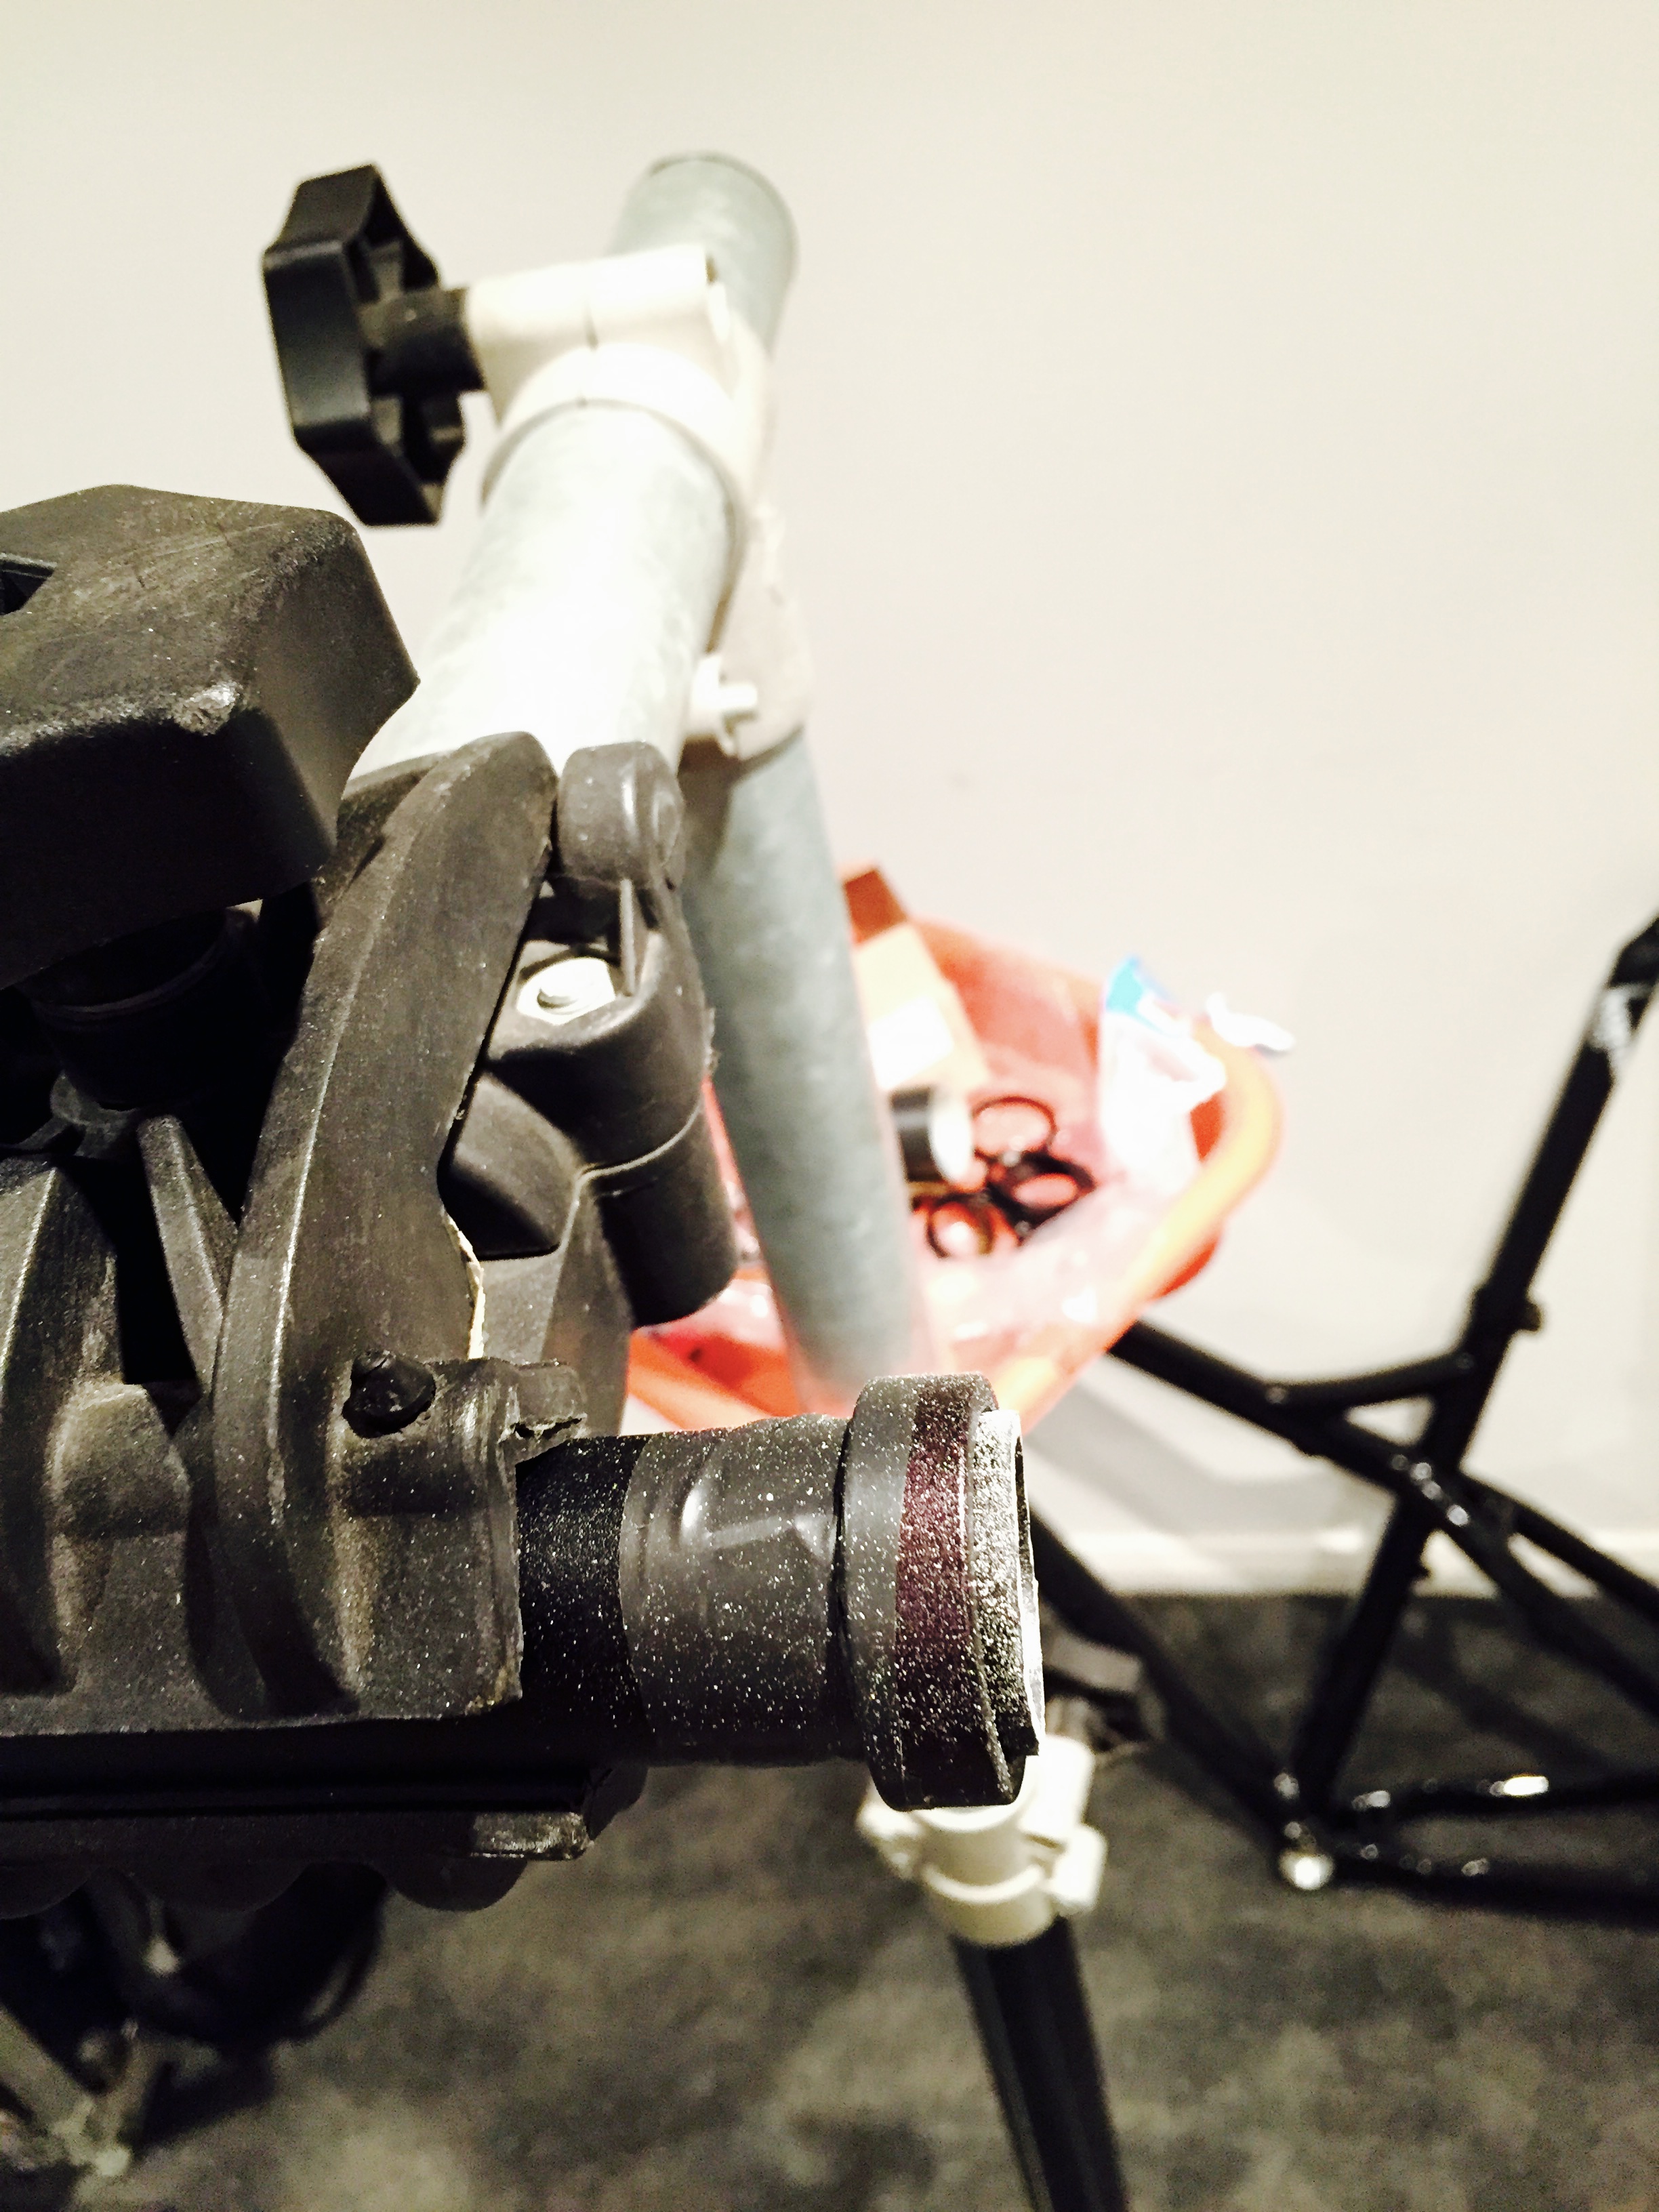
Above: The cut steerer, before filing.
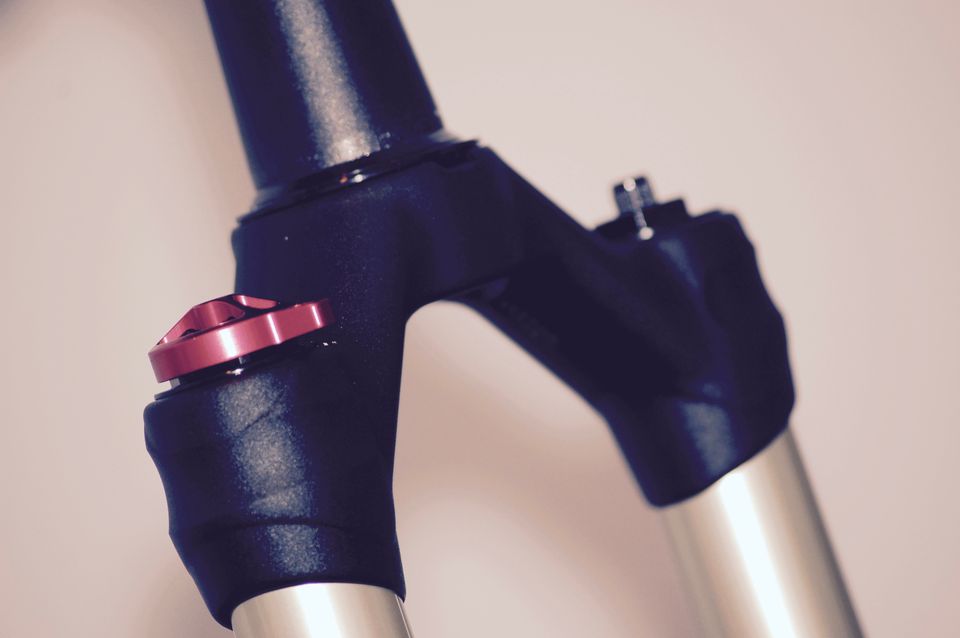
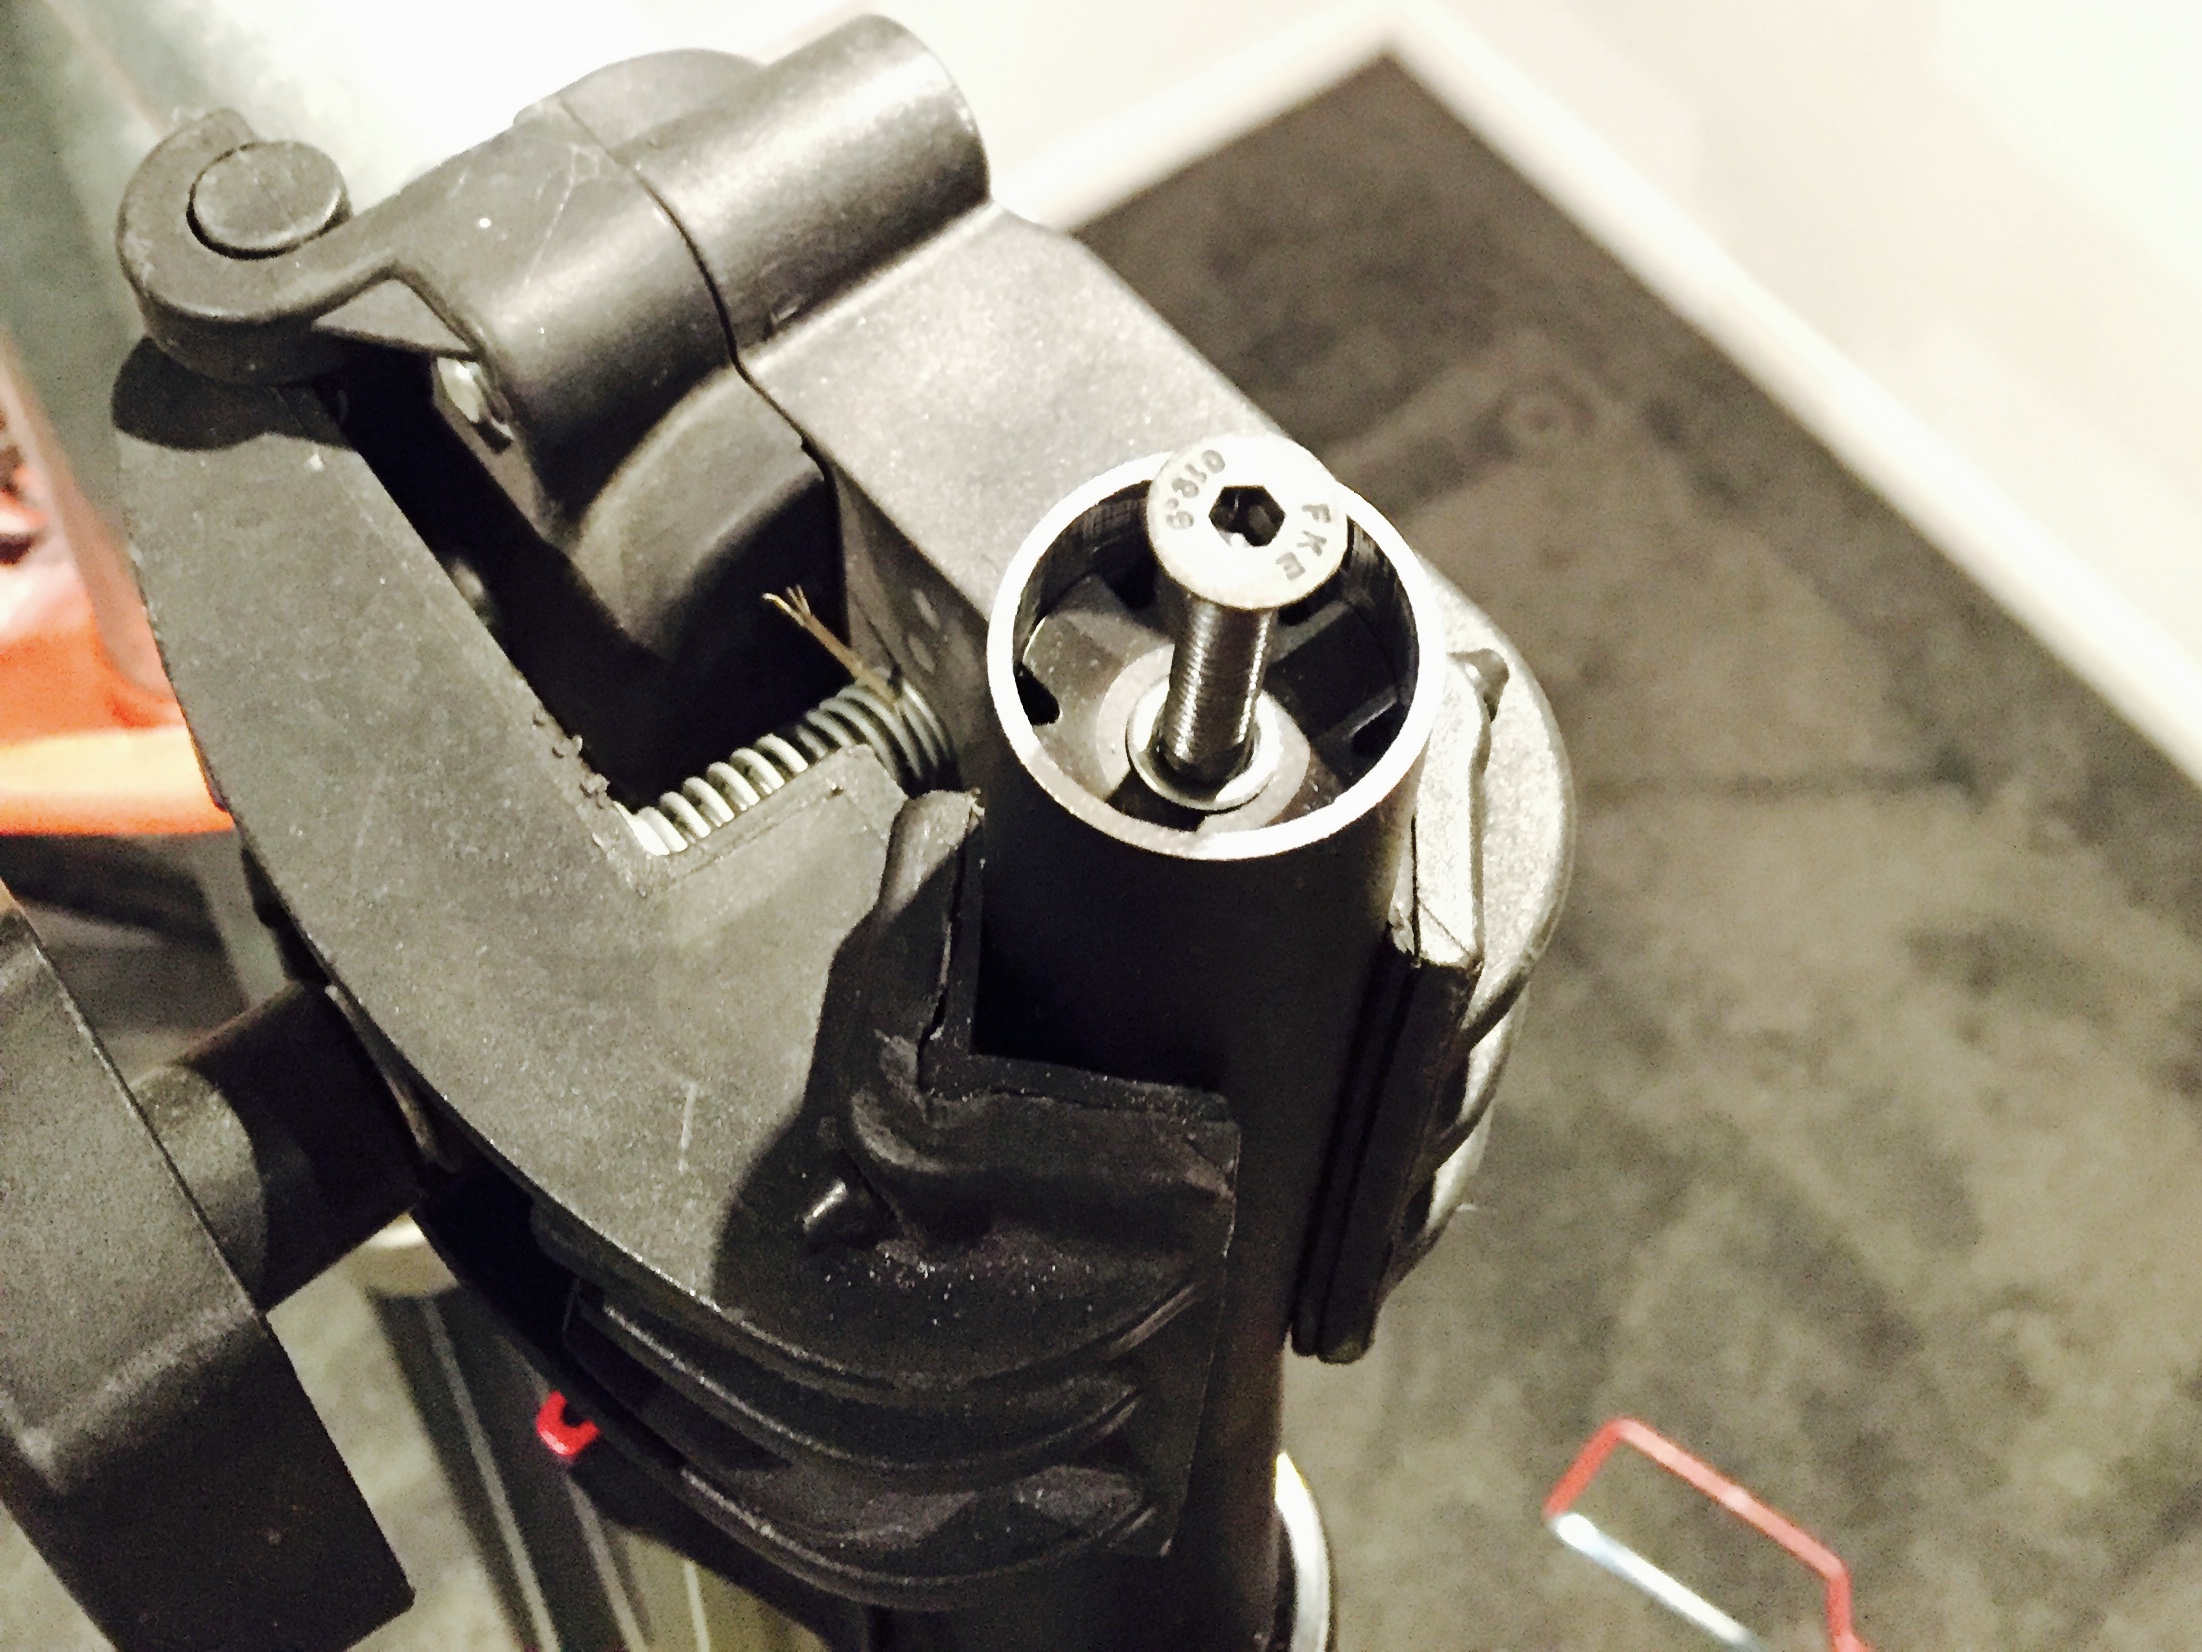
Setting the start nut
The aforementioned headset cap needs something to pull against. This part is called a star nut and it gets inserted in to the top of the steerer tube. This is another place where a specific tool exists but you can do a perfectly reasonable job with a modest combination of the top cap bolt and a hammer.
Below: The star nut on its way in.
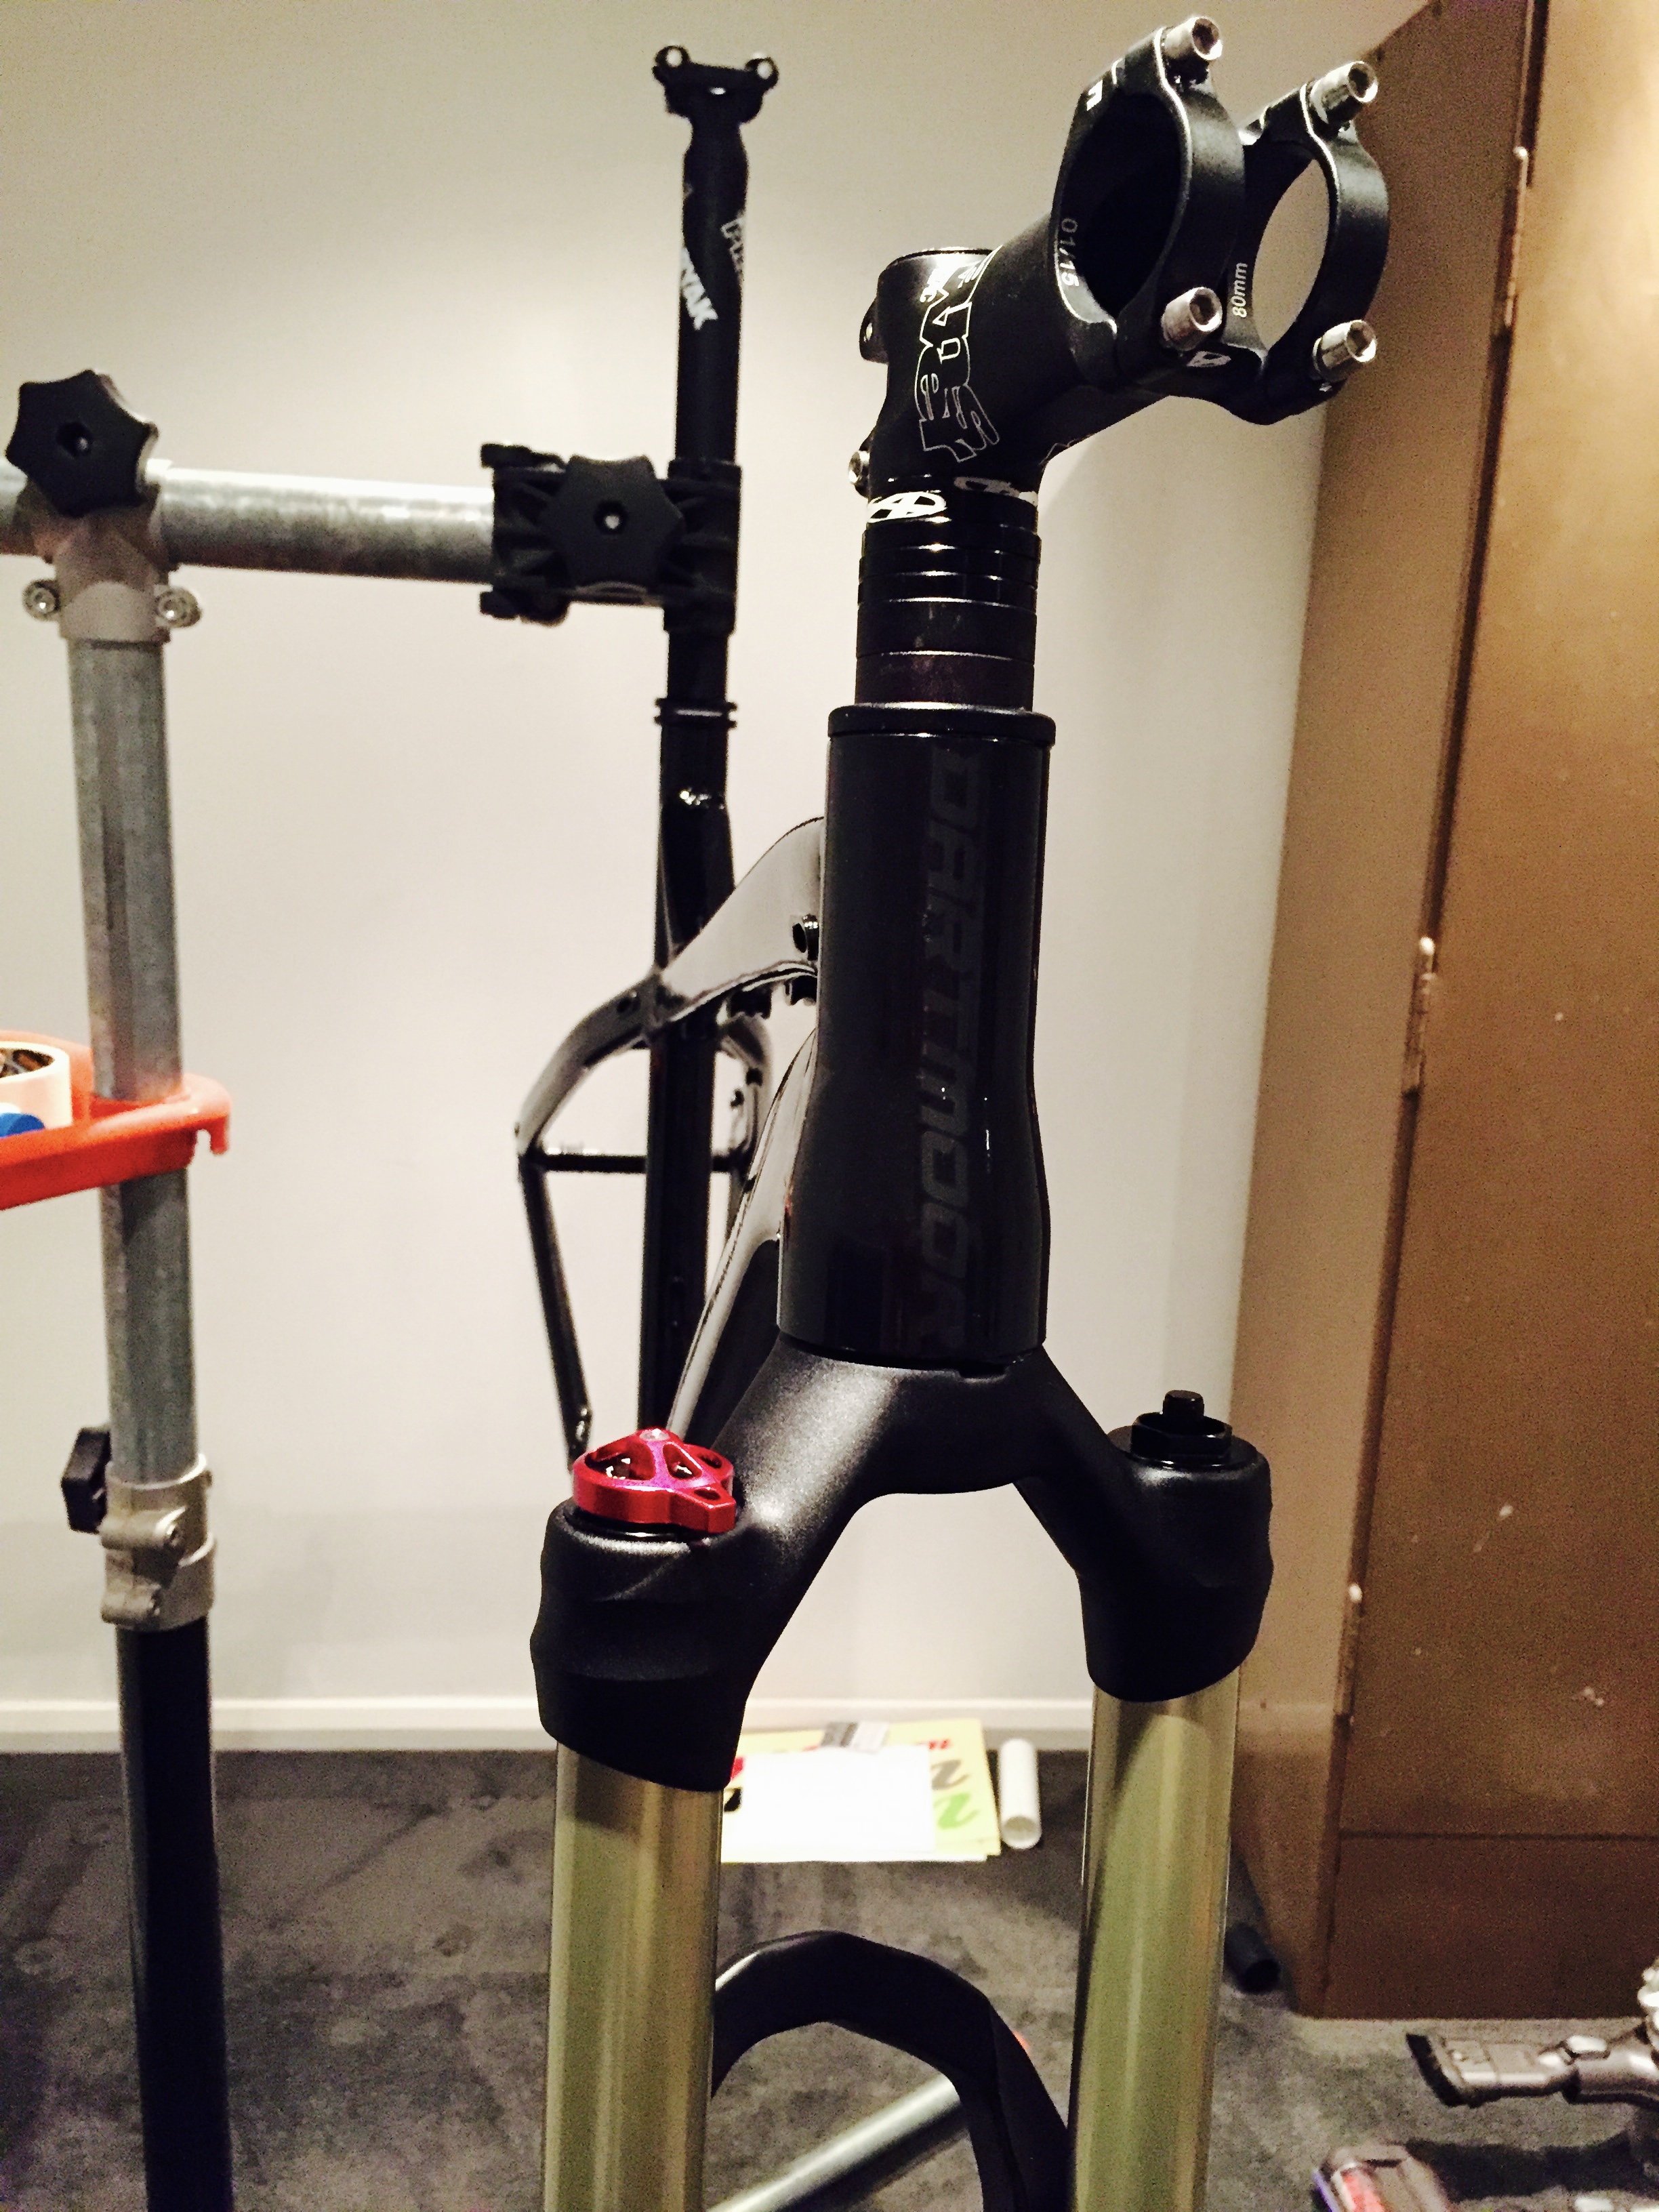
All together now
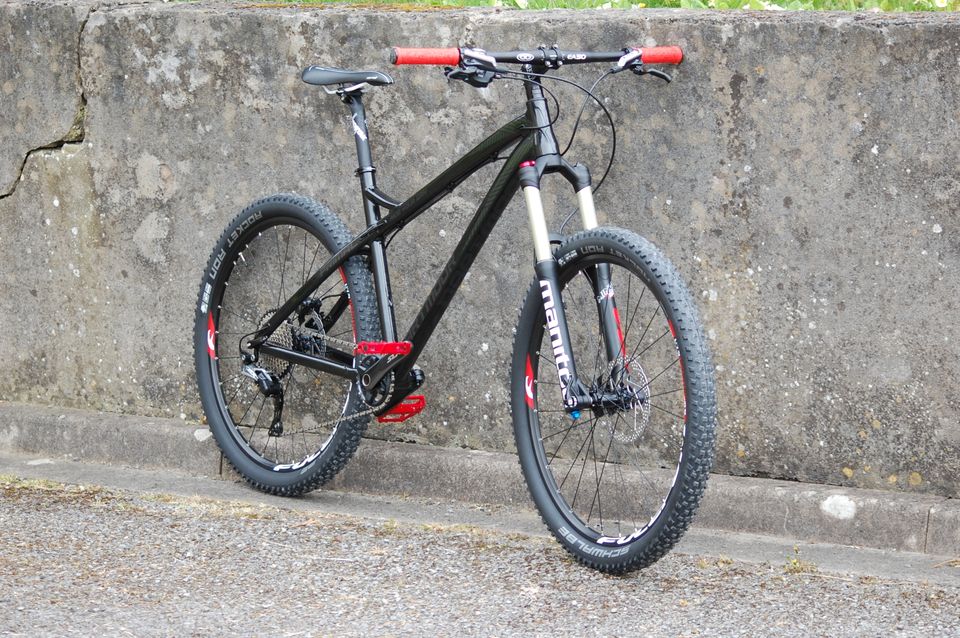
With the crown race, steerer tube and star nut all sorted, all that was left to do was assemble it. I lubed up the bearings and races with Shimano workshop grease and the stem/steerer interface with copper grease to allow it to grip, but prevent the surfaces from fusing. And that’s all for now!
Below: Assembled!
Parts summary
Purchases added in this post:
| Component | Price |
| Answer stem | £10 |
| Headset spacers | £3 |